The process of moulding a socket is often seen as an art and requires great skill of a prosthetist. The socket needs to conform perfectly to the patient’s stump so that it feels comfortable but still offers the necessary support.
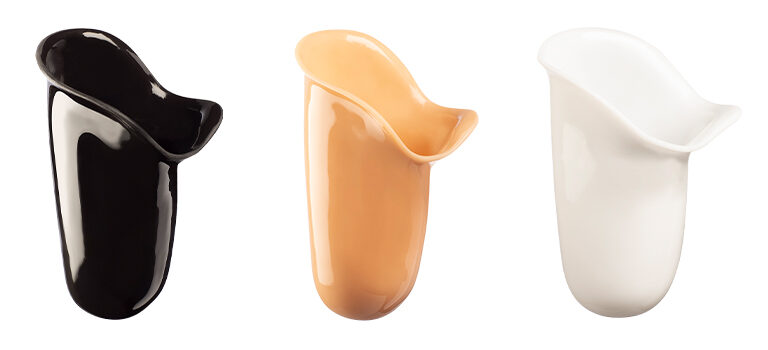
One way to create a prosthetic socket is by using the bubble-forming method: a thermoplastic socket material is heated in an infrared or convection oven until it starts to drop into a bubble-like shape. The bubble is then pulled over a positive mould of the patient’s stump and is left to harden completely. This method results in a socket that neatly conforms to the patient’s contours and gives the prosthesis a secure fit.
Follow along as we take you through all the steps of moulding a prosthetic socket using the bubble-forming method.
Step 1: Create a foam or plaster positive mould
Before you can start moulding any prosthetic socket, you need a good positive mould. Read our 5 tips on forming and positioning the perfect positive mould here.
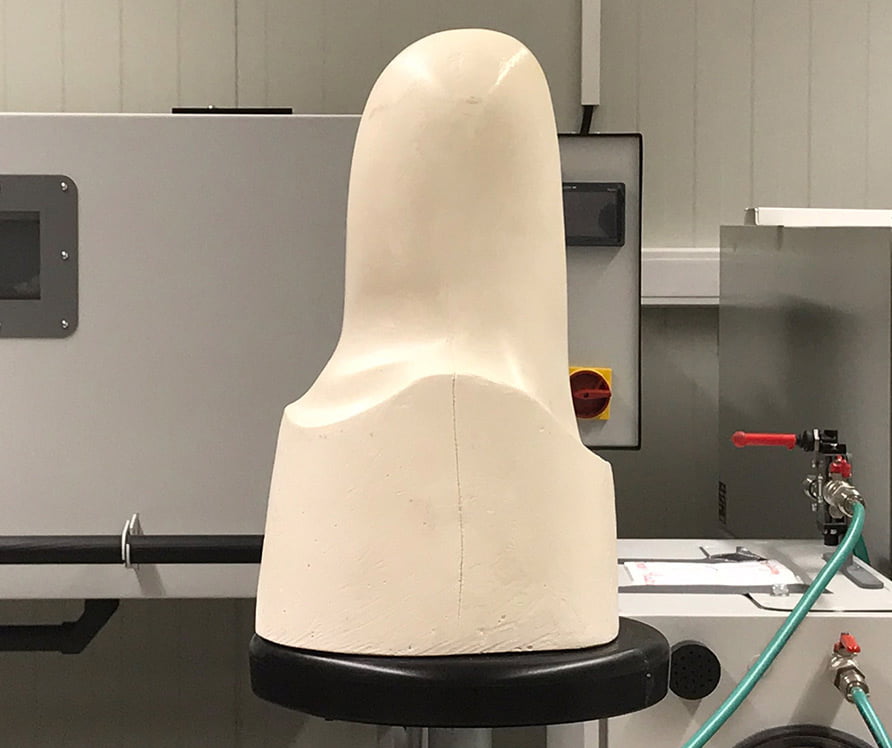
Create your positive mould.
Step 2: Prepare and heat the thermoplastic sheet
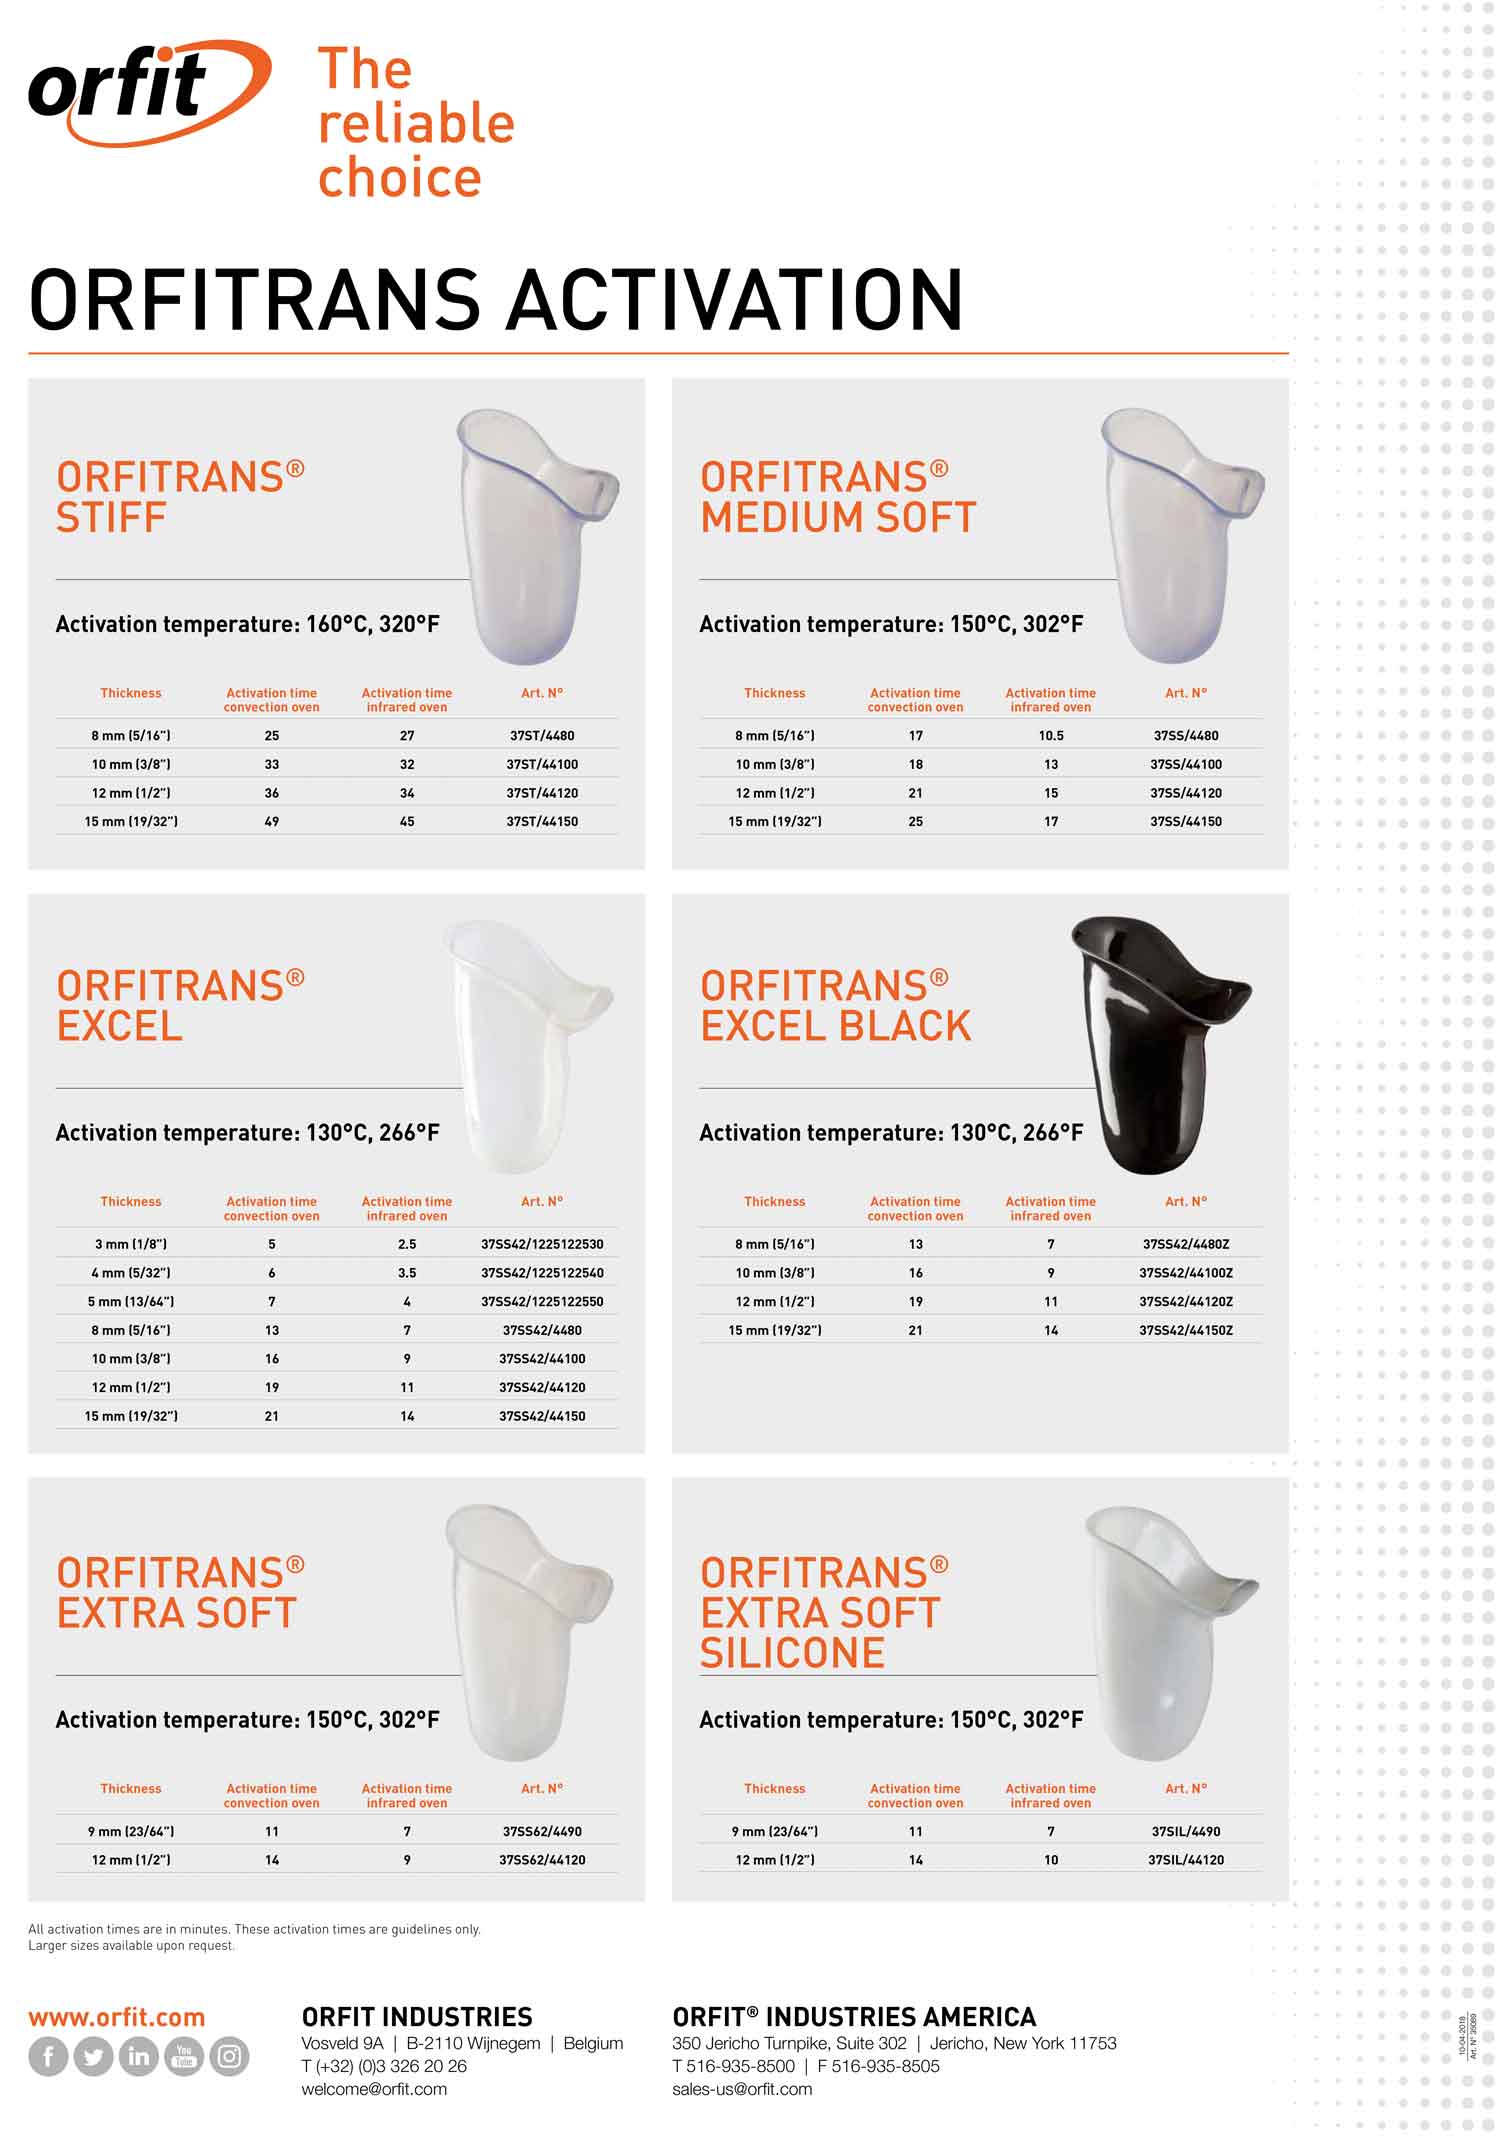
- Preheat your convection or infrared oven (for this article we are using an infrared oven) at the correct temperature. The diagram below gives an overview of all Orfit’s socket materials and the corresponding heating temperatures. We also recommend reading our blog post about the ideal heating technique for Orfitrans Stiff.
(Click to enlarge)
- Remove the protective foil on both sides of the thermoplastic sheet, there is one on all Orfitrans products. This protective foil helps to prevent scratches on the material and protects against the absorption of moisture, but once you are ready to mould it is very important to remove it. Otherwise, the Orfitrans sheet will not drop in the oven.
- Wedge the thermoplastic sheet firmly into a supporting frame.
- Place the frame on a support rack and make sure that there is enough space for the bubble to form and drop in the oven.
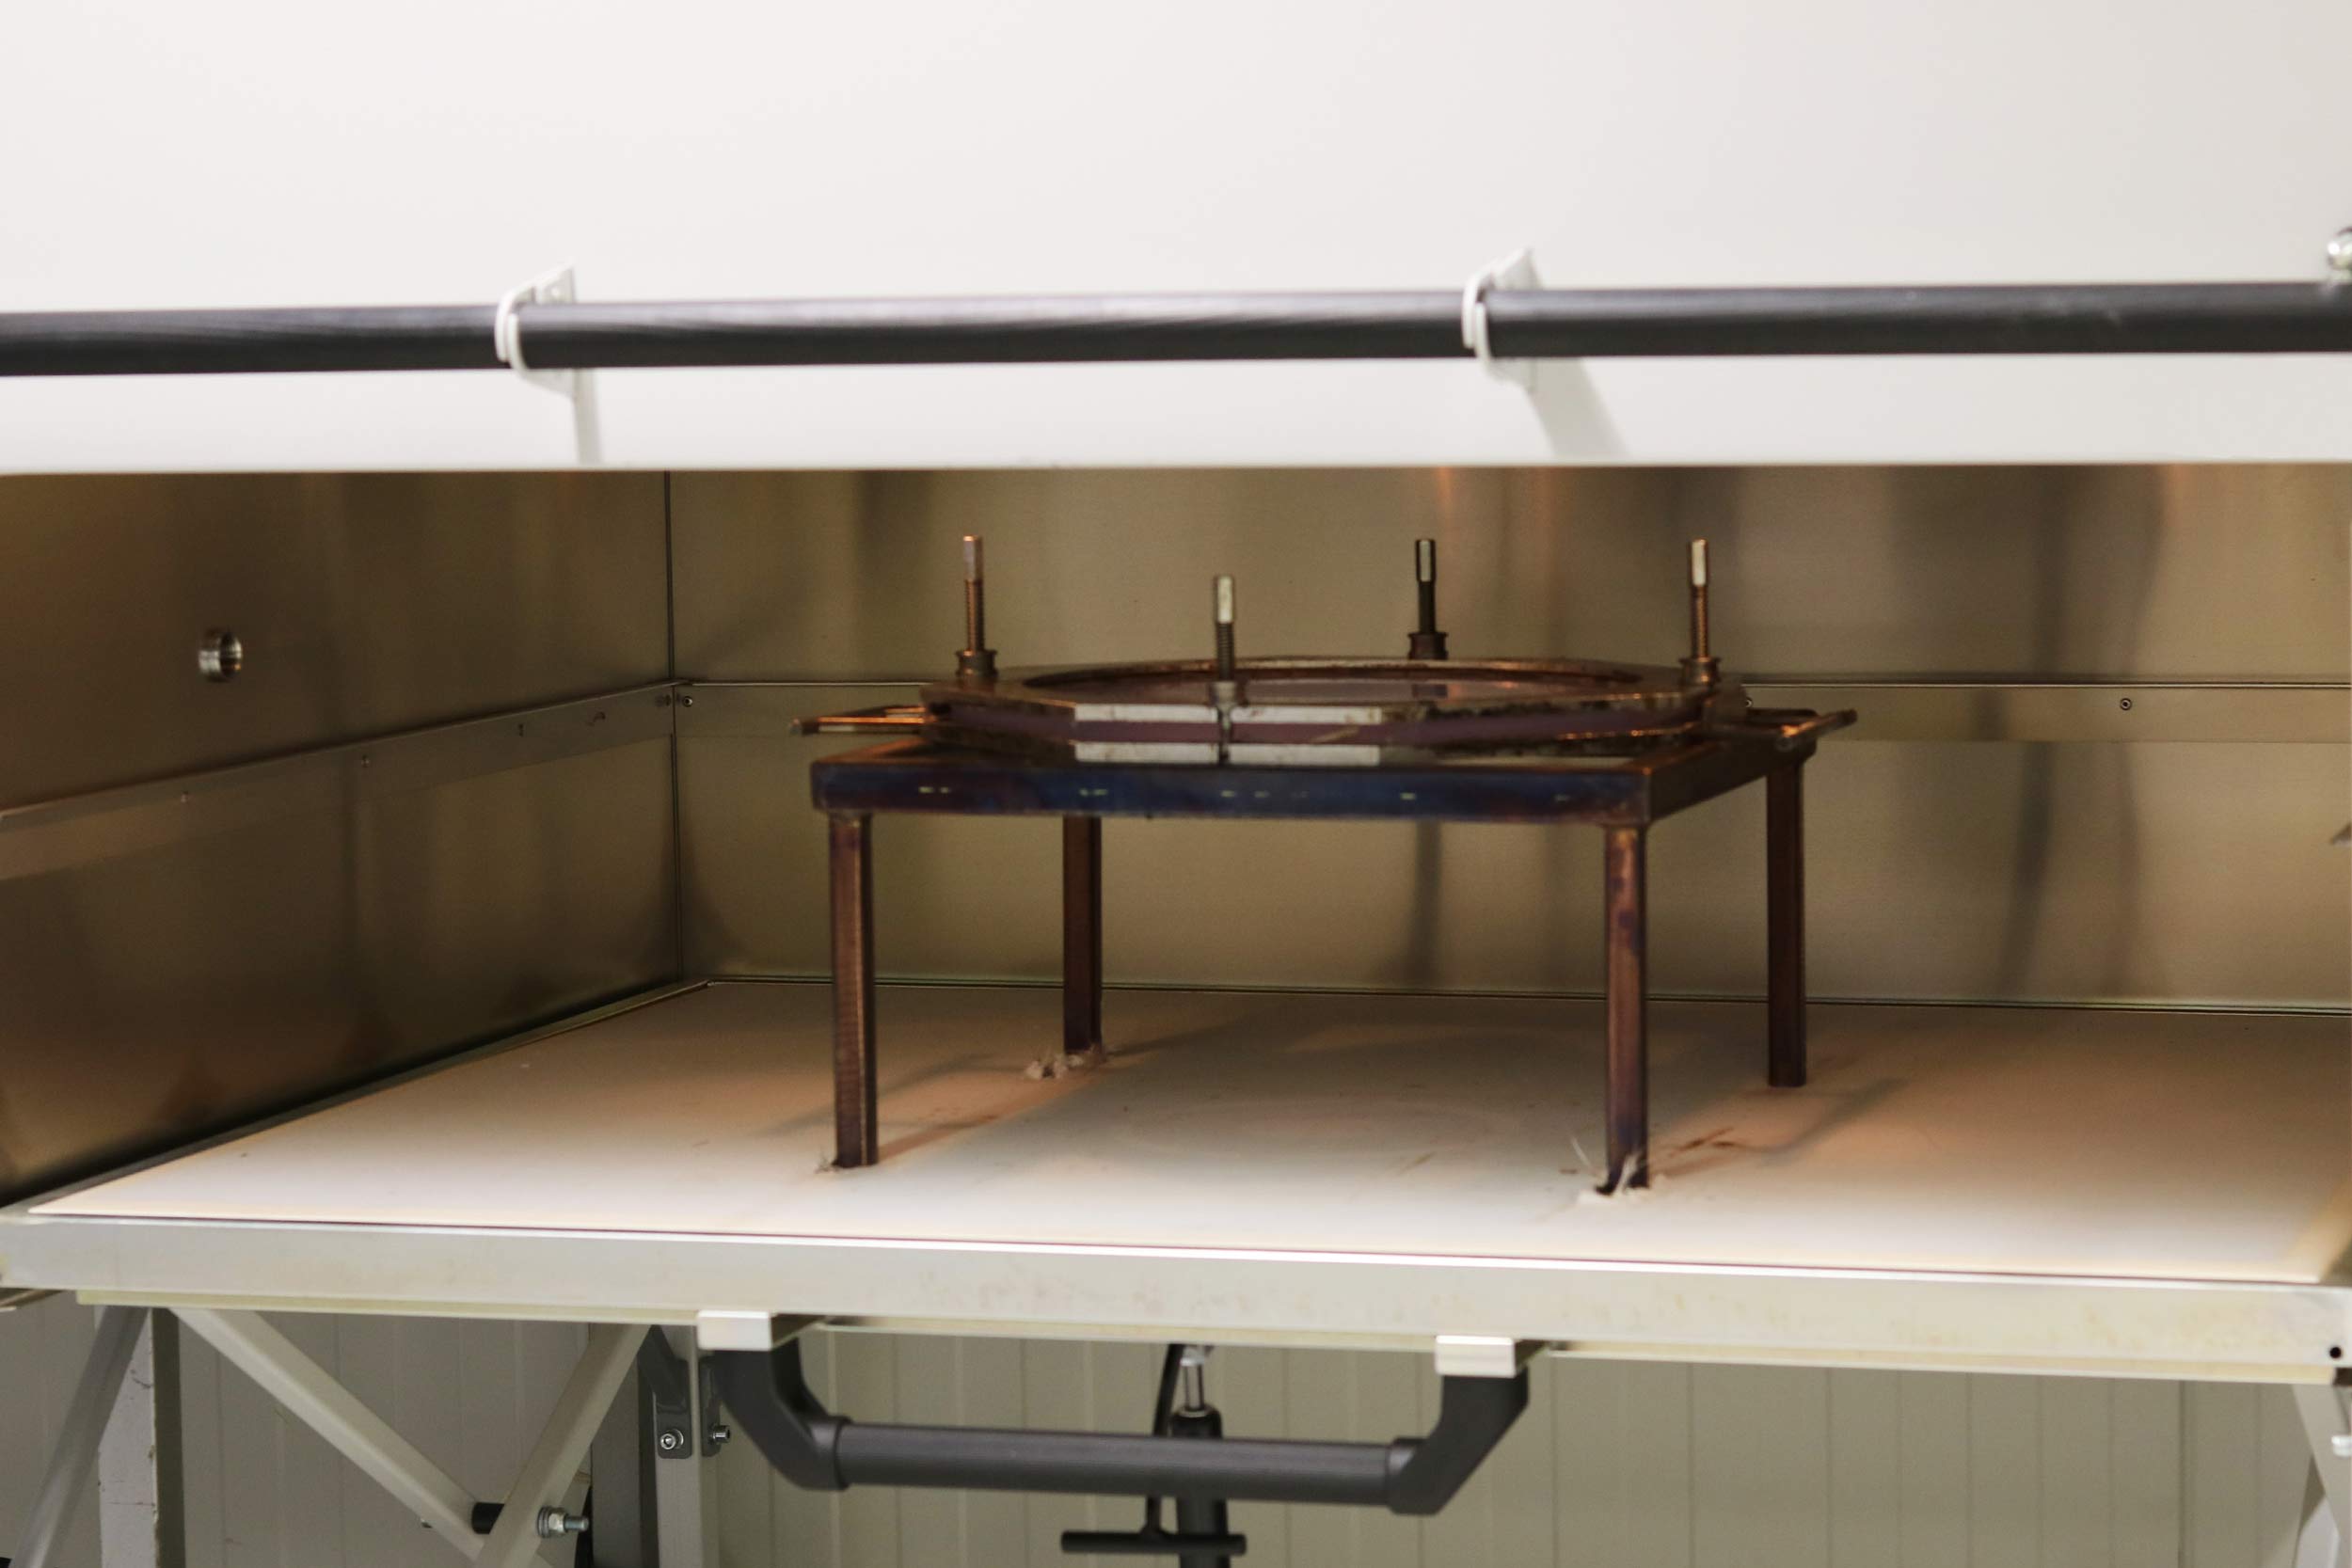
Wedge your sheet into a frame and place it on a support rack.
- Place the sheet into the oven and allow the bubble to form. We usually recommend to let the bubble drop 2/3 the length of the socket.
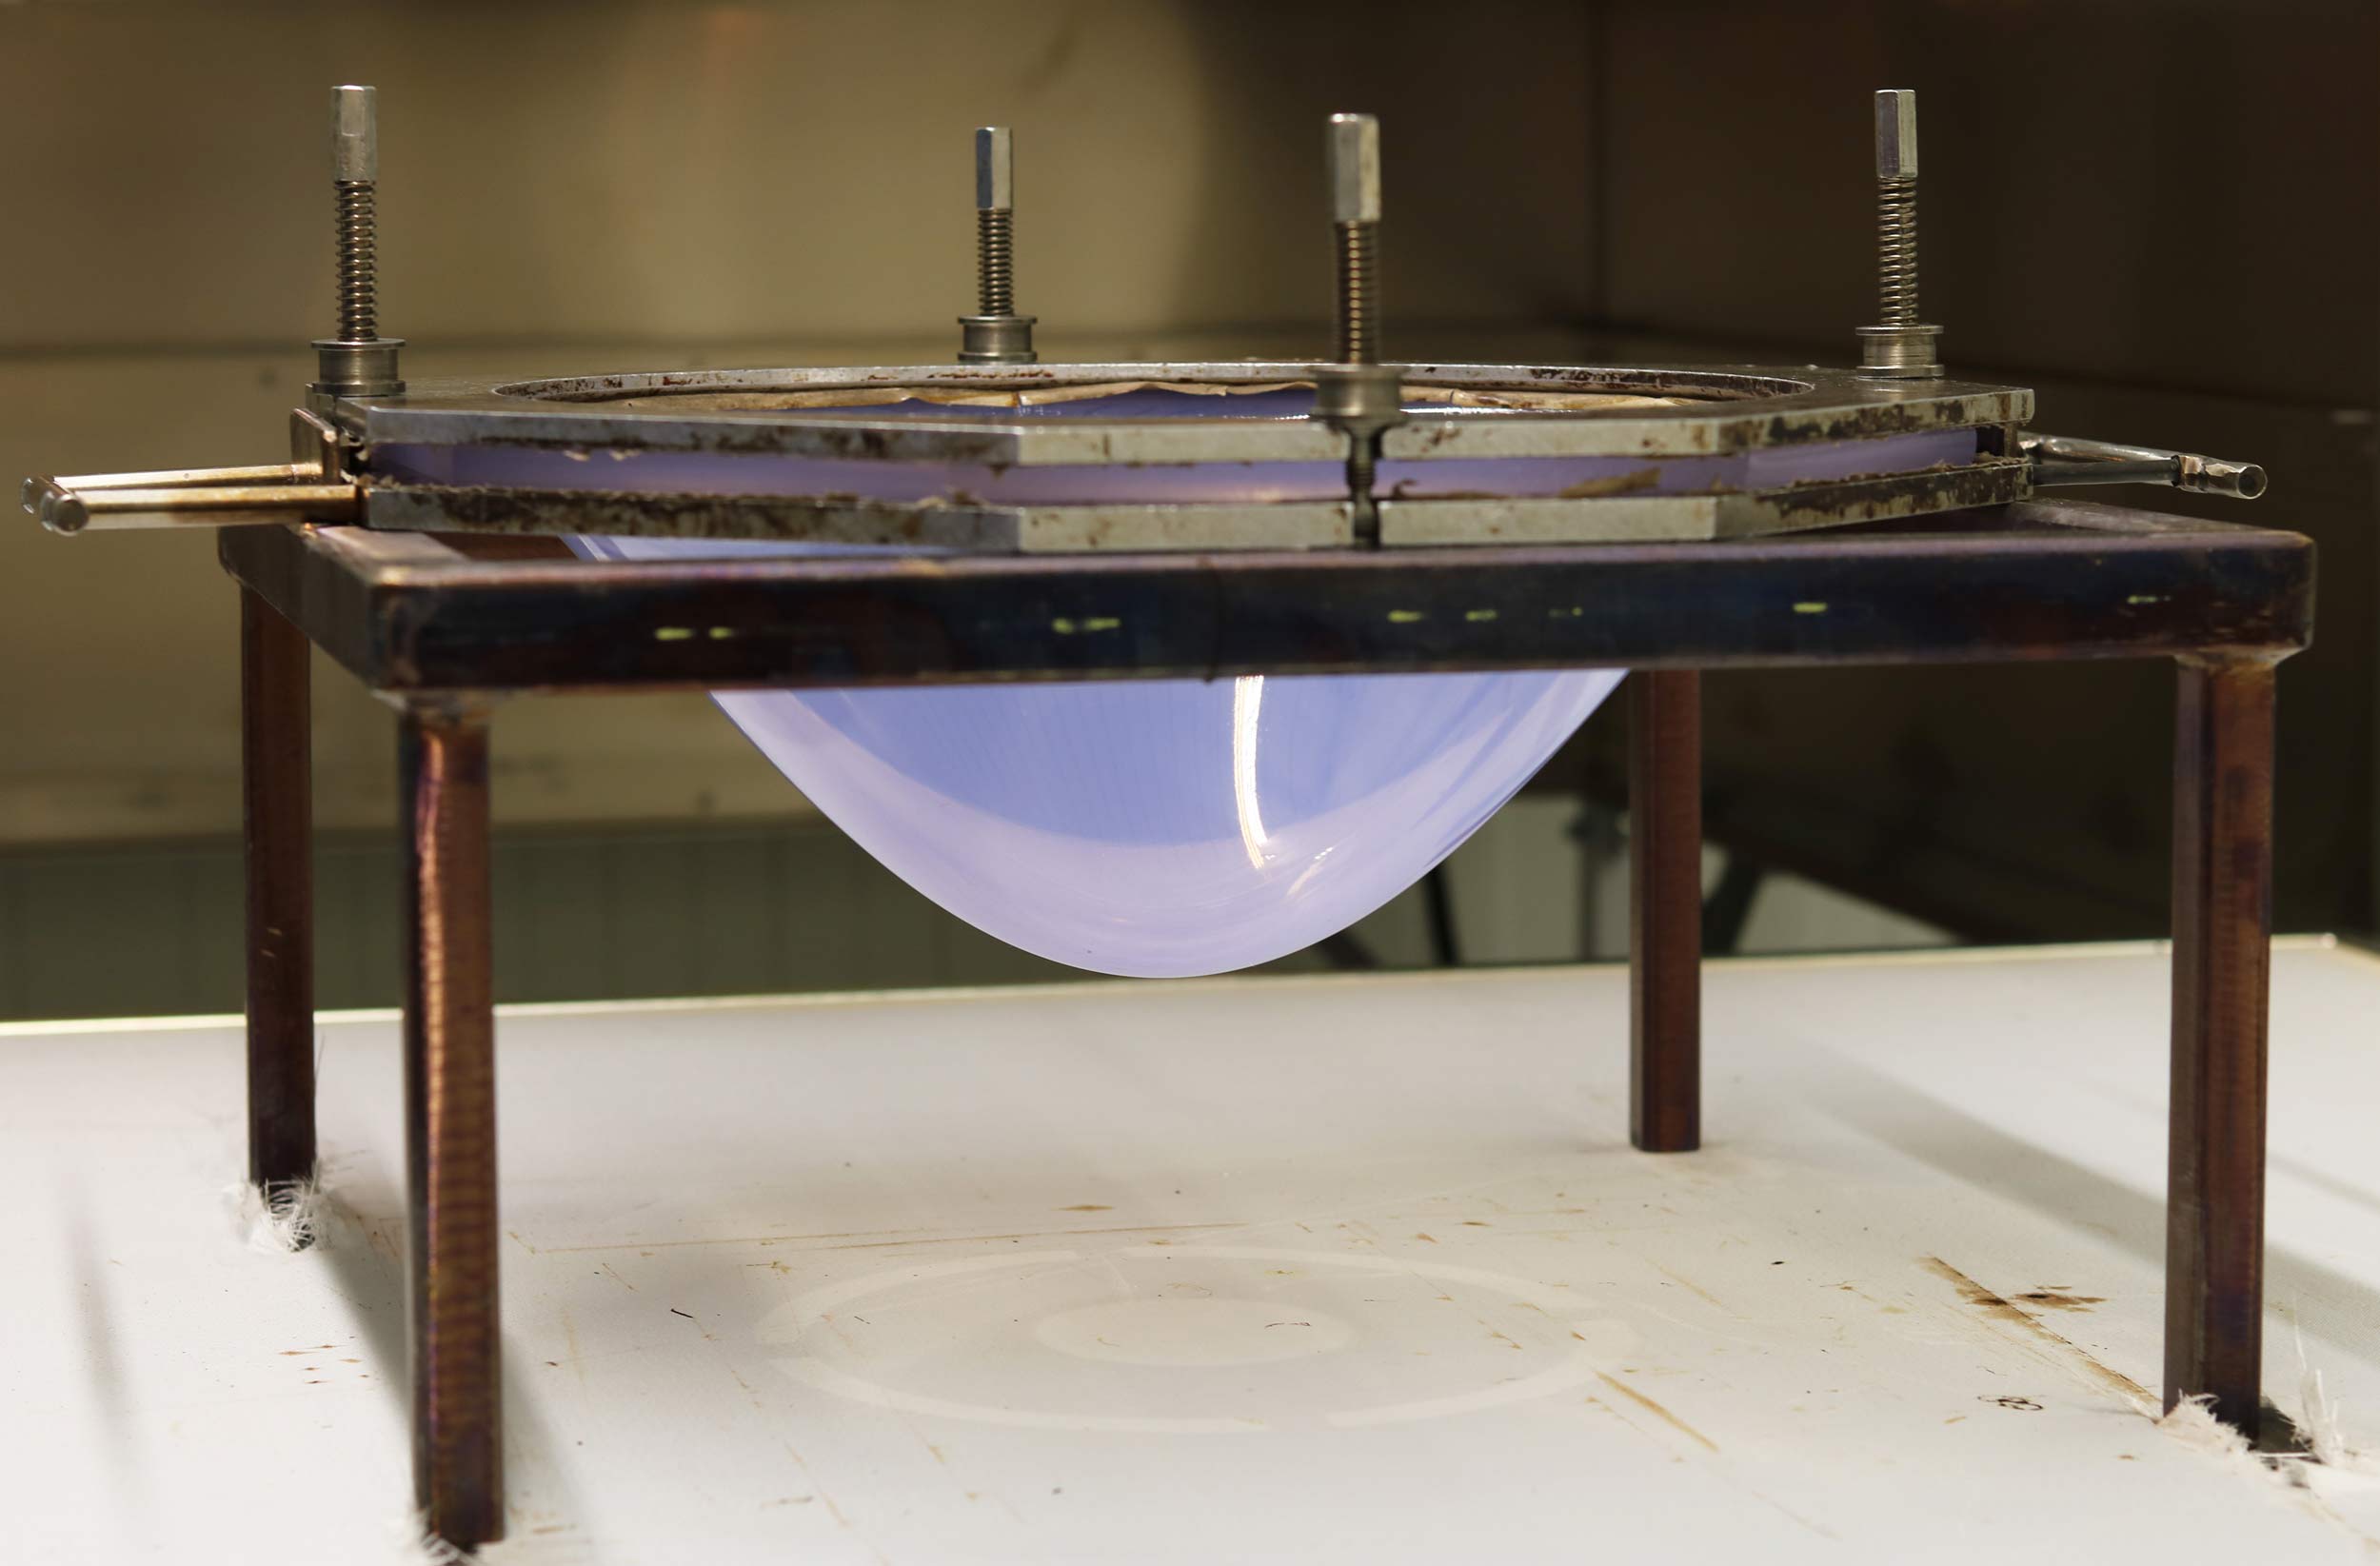
Let the bubble drop 2/3 the length of the socket.
- Take the sheet out of the oven with heat-resistant gloves.
Step 3: Pull the sheet over the positive mould
- Turn the bubbled sheet upside down with the convex side pointing upwards.
- Before you start moulding, take a look at the different sides of your positive mould. The socket shape usually has shorter and longer sides and you will need more thermoplastic material to cover the longer sides. You can position the bubble slightly off-centre over the top of the positive mould.
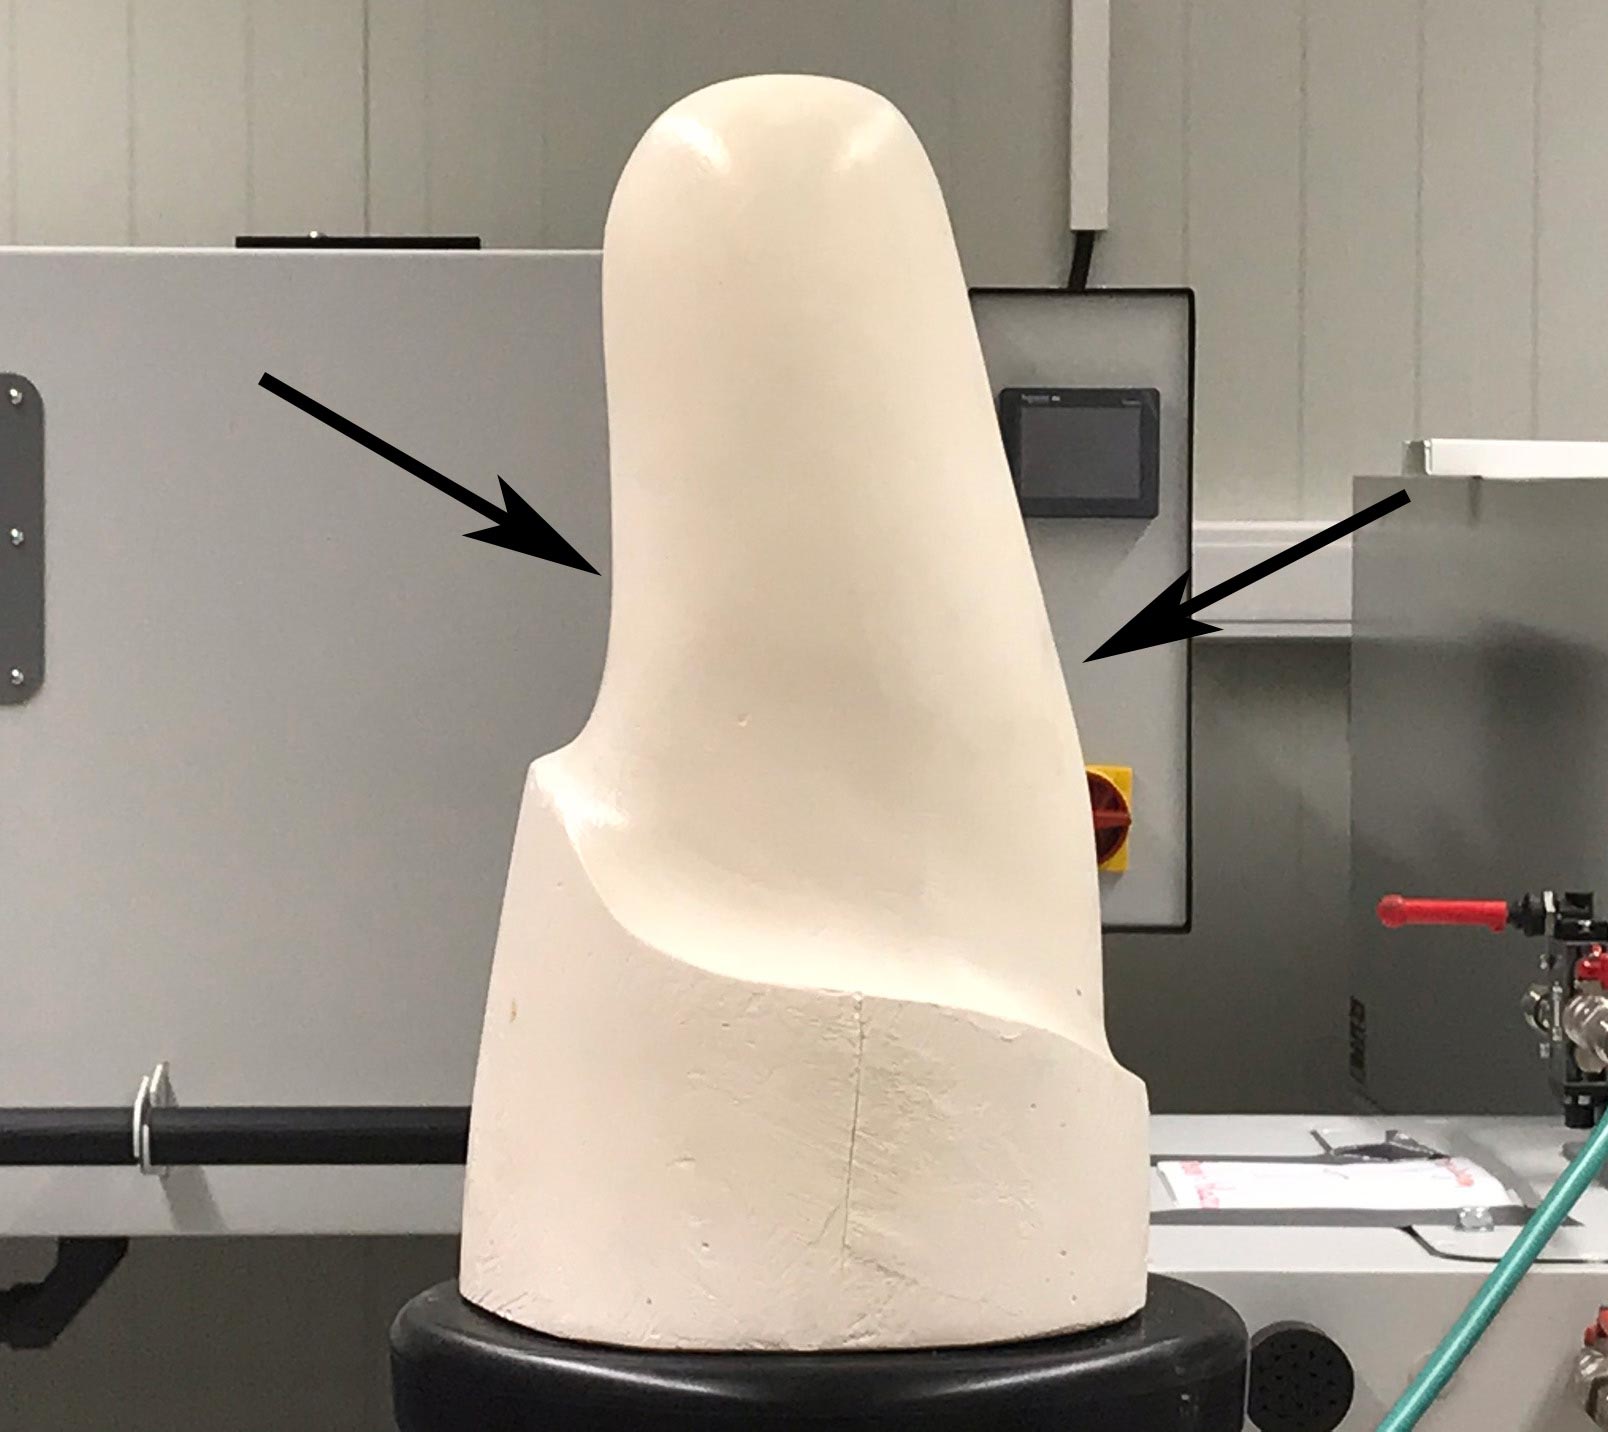
Take a look at the shorter and longer sides of the socket shape.
- Take account of the stiffness of your thermoplastic sheet:
- Stiff materials: Use light pressure to pull the material down. Do this very slowly and make sure that you do not twist the material – keep the sheet straight.
- Soft materials: Support the material and make sure it does not drop too quickly.
Give the thermoplastic the chance to conform to the mould in smooth and fluid movements in order to avoid bulging and unevenness.
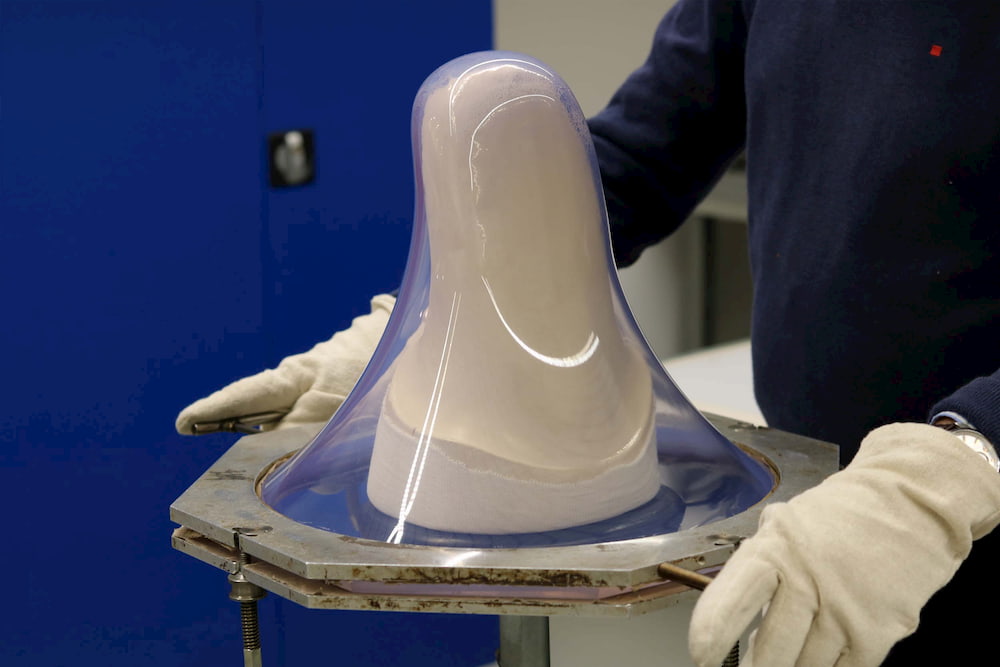
- Let the sheet drop to the proximal sides of the mould.
-
-
-
Let the sheet drop to the proximal sides, activate the vacuum, and let it drop to the edge of the vacuum base plate.
- Activate the vacuum very slowly to reach a vacuum pressure of 0,2 bar.
- Then, let it drop further down to the edges of the vacuum baseplate.
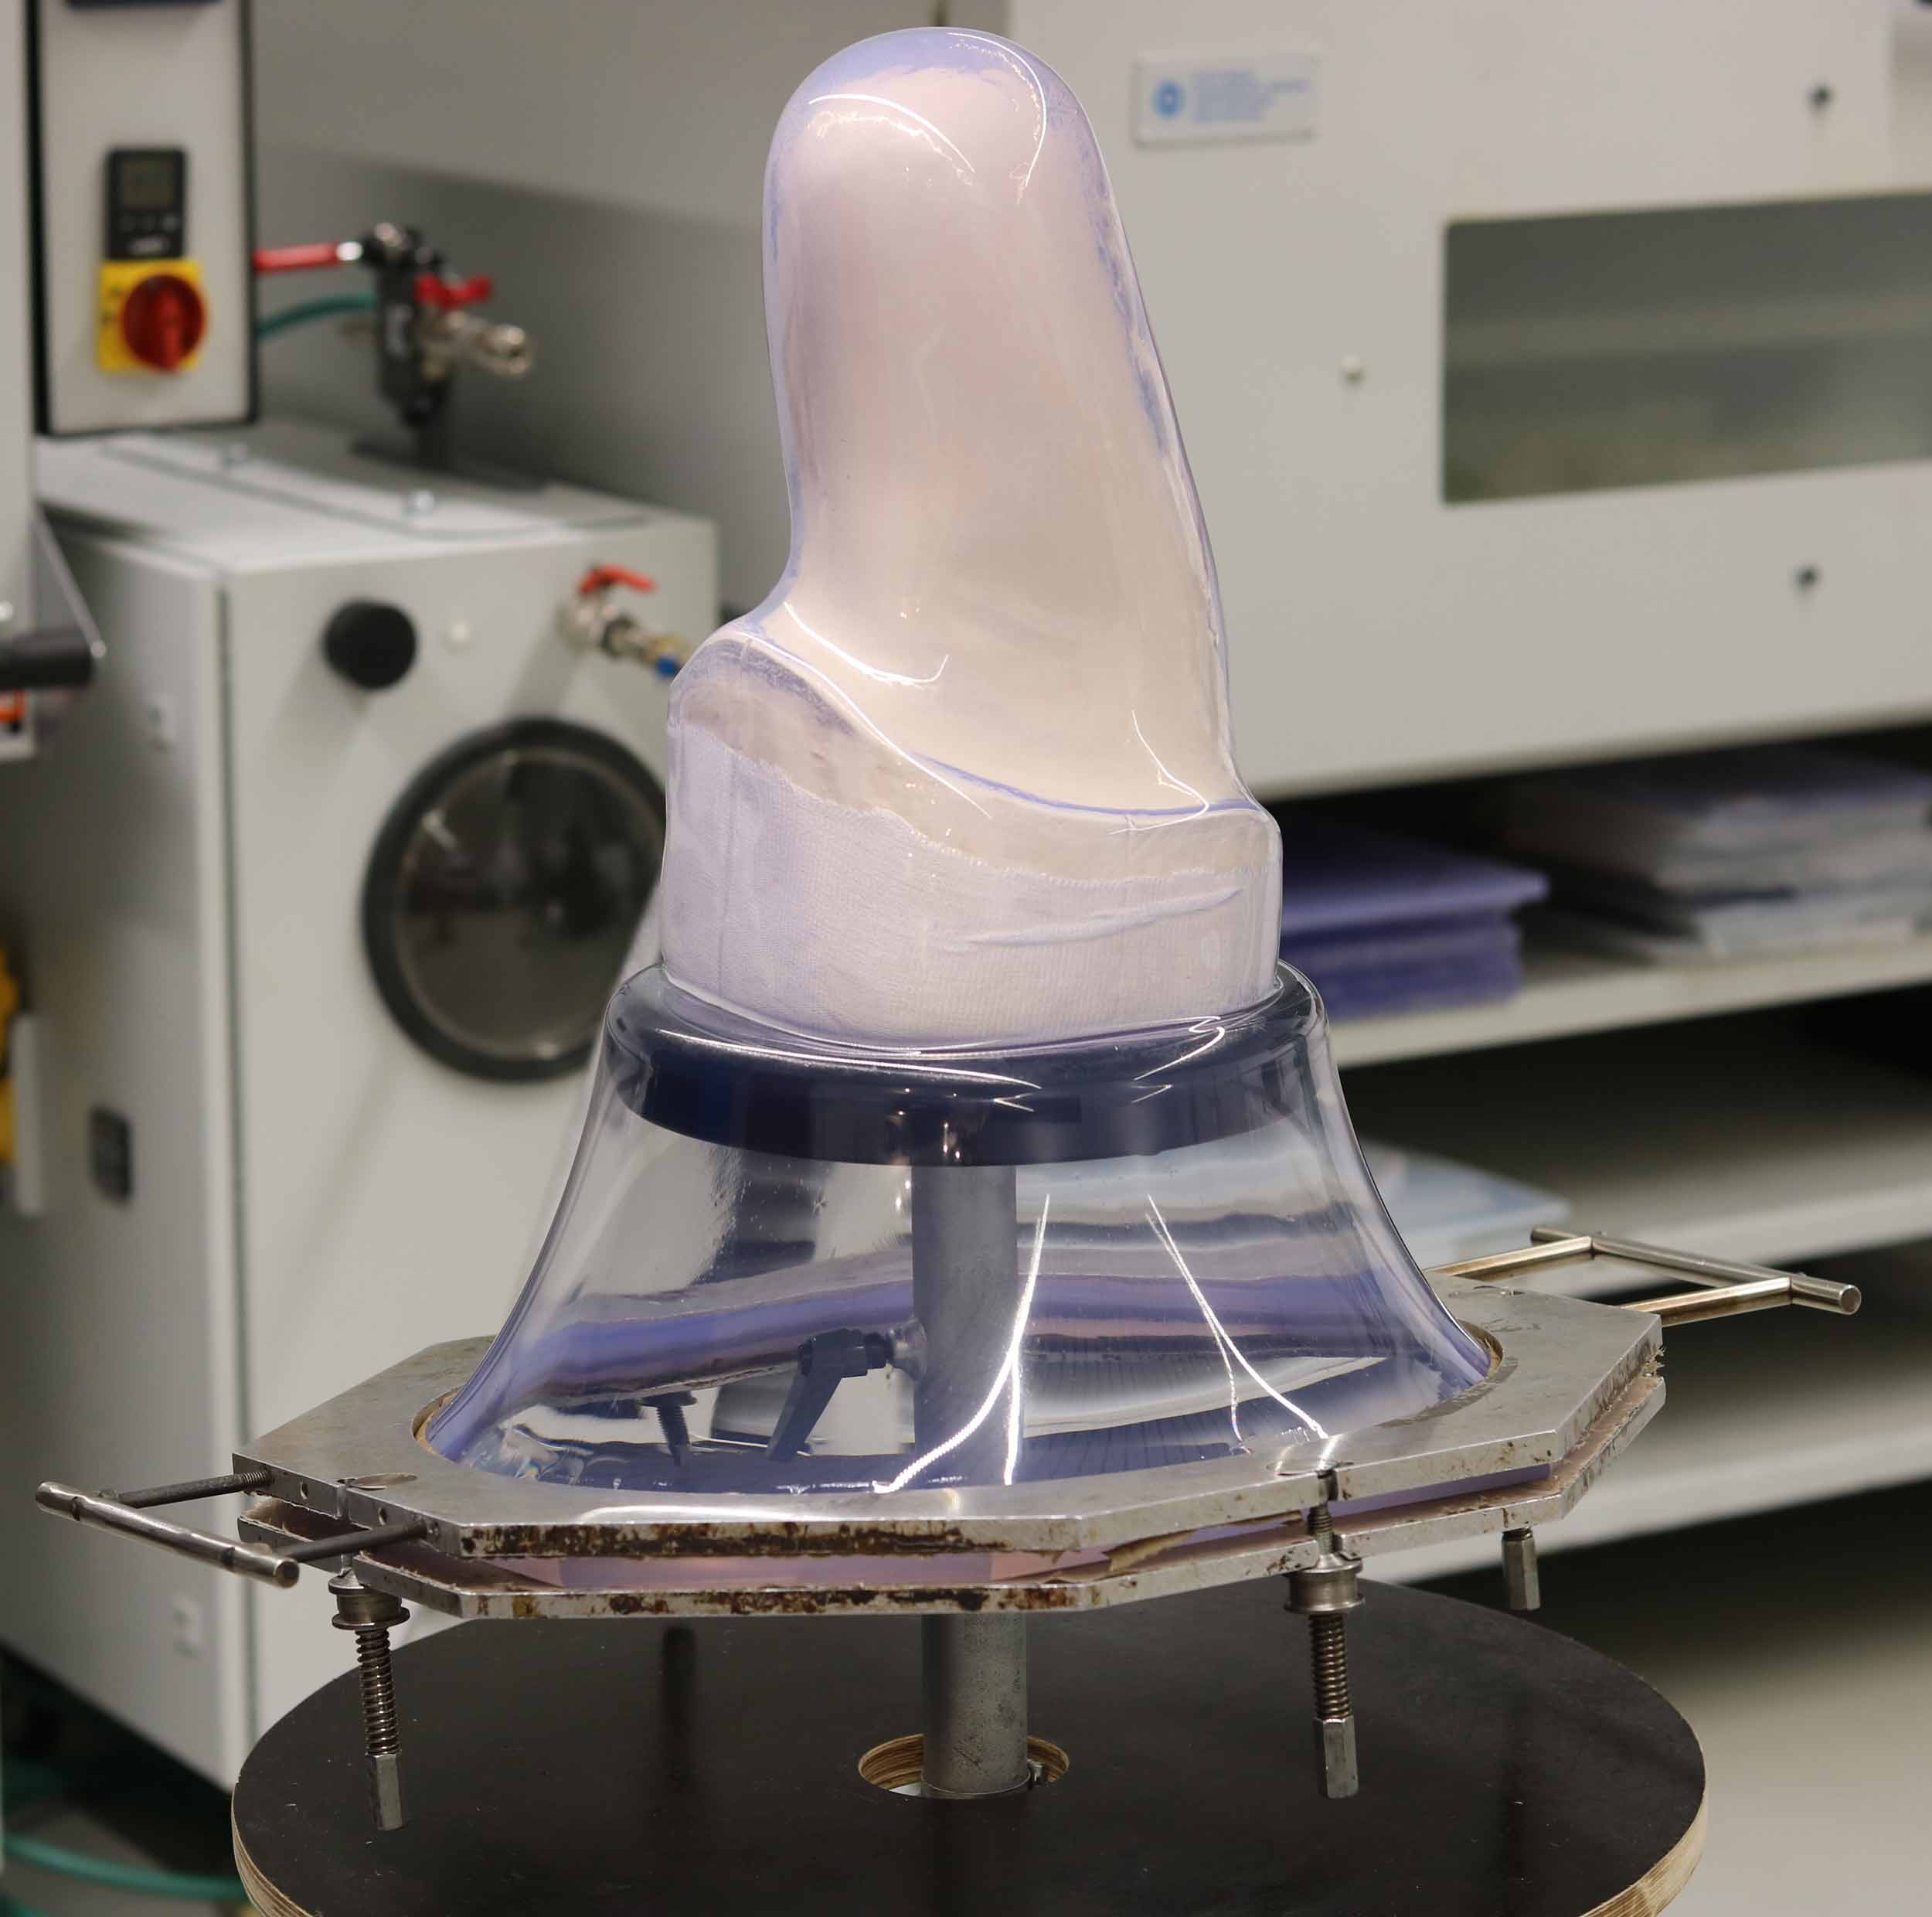
Let the vacuum do its work.
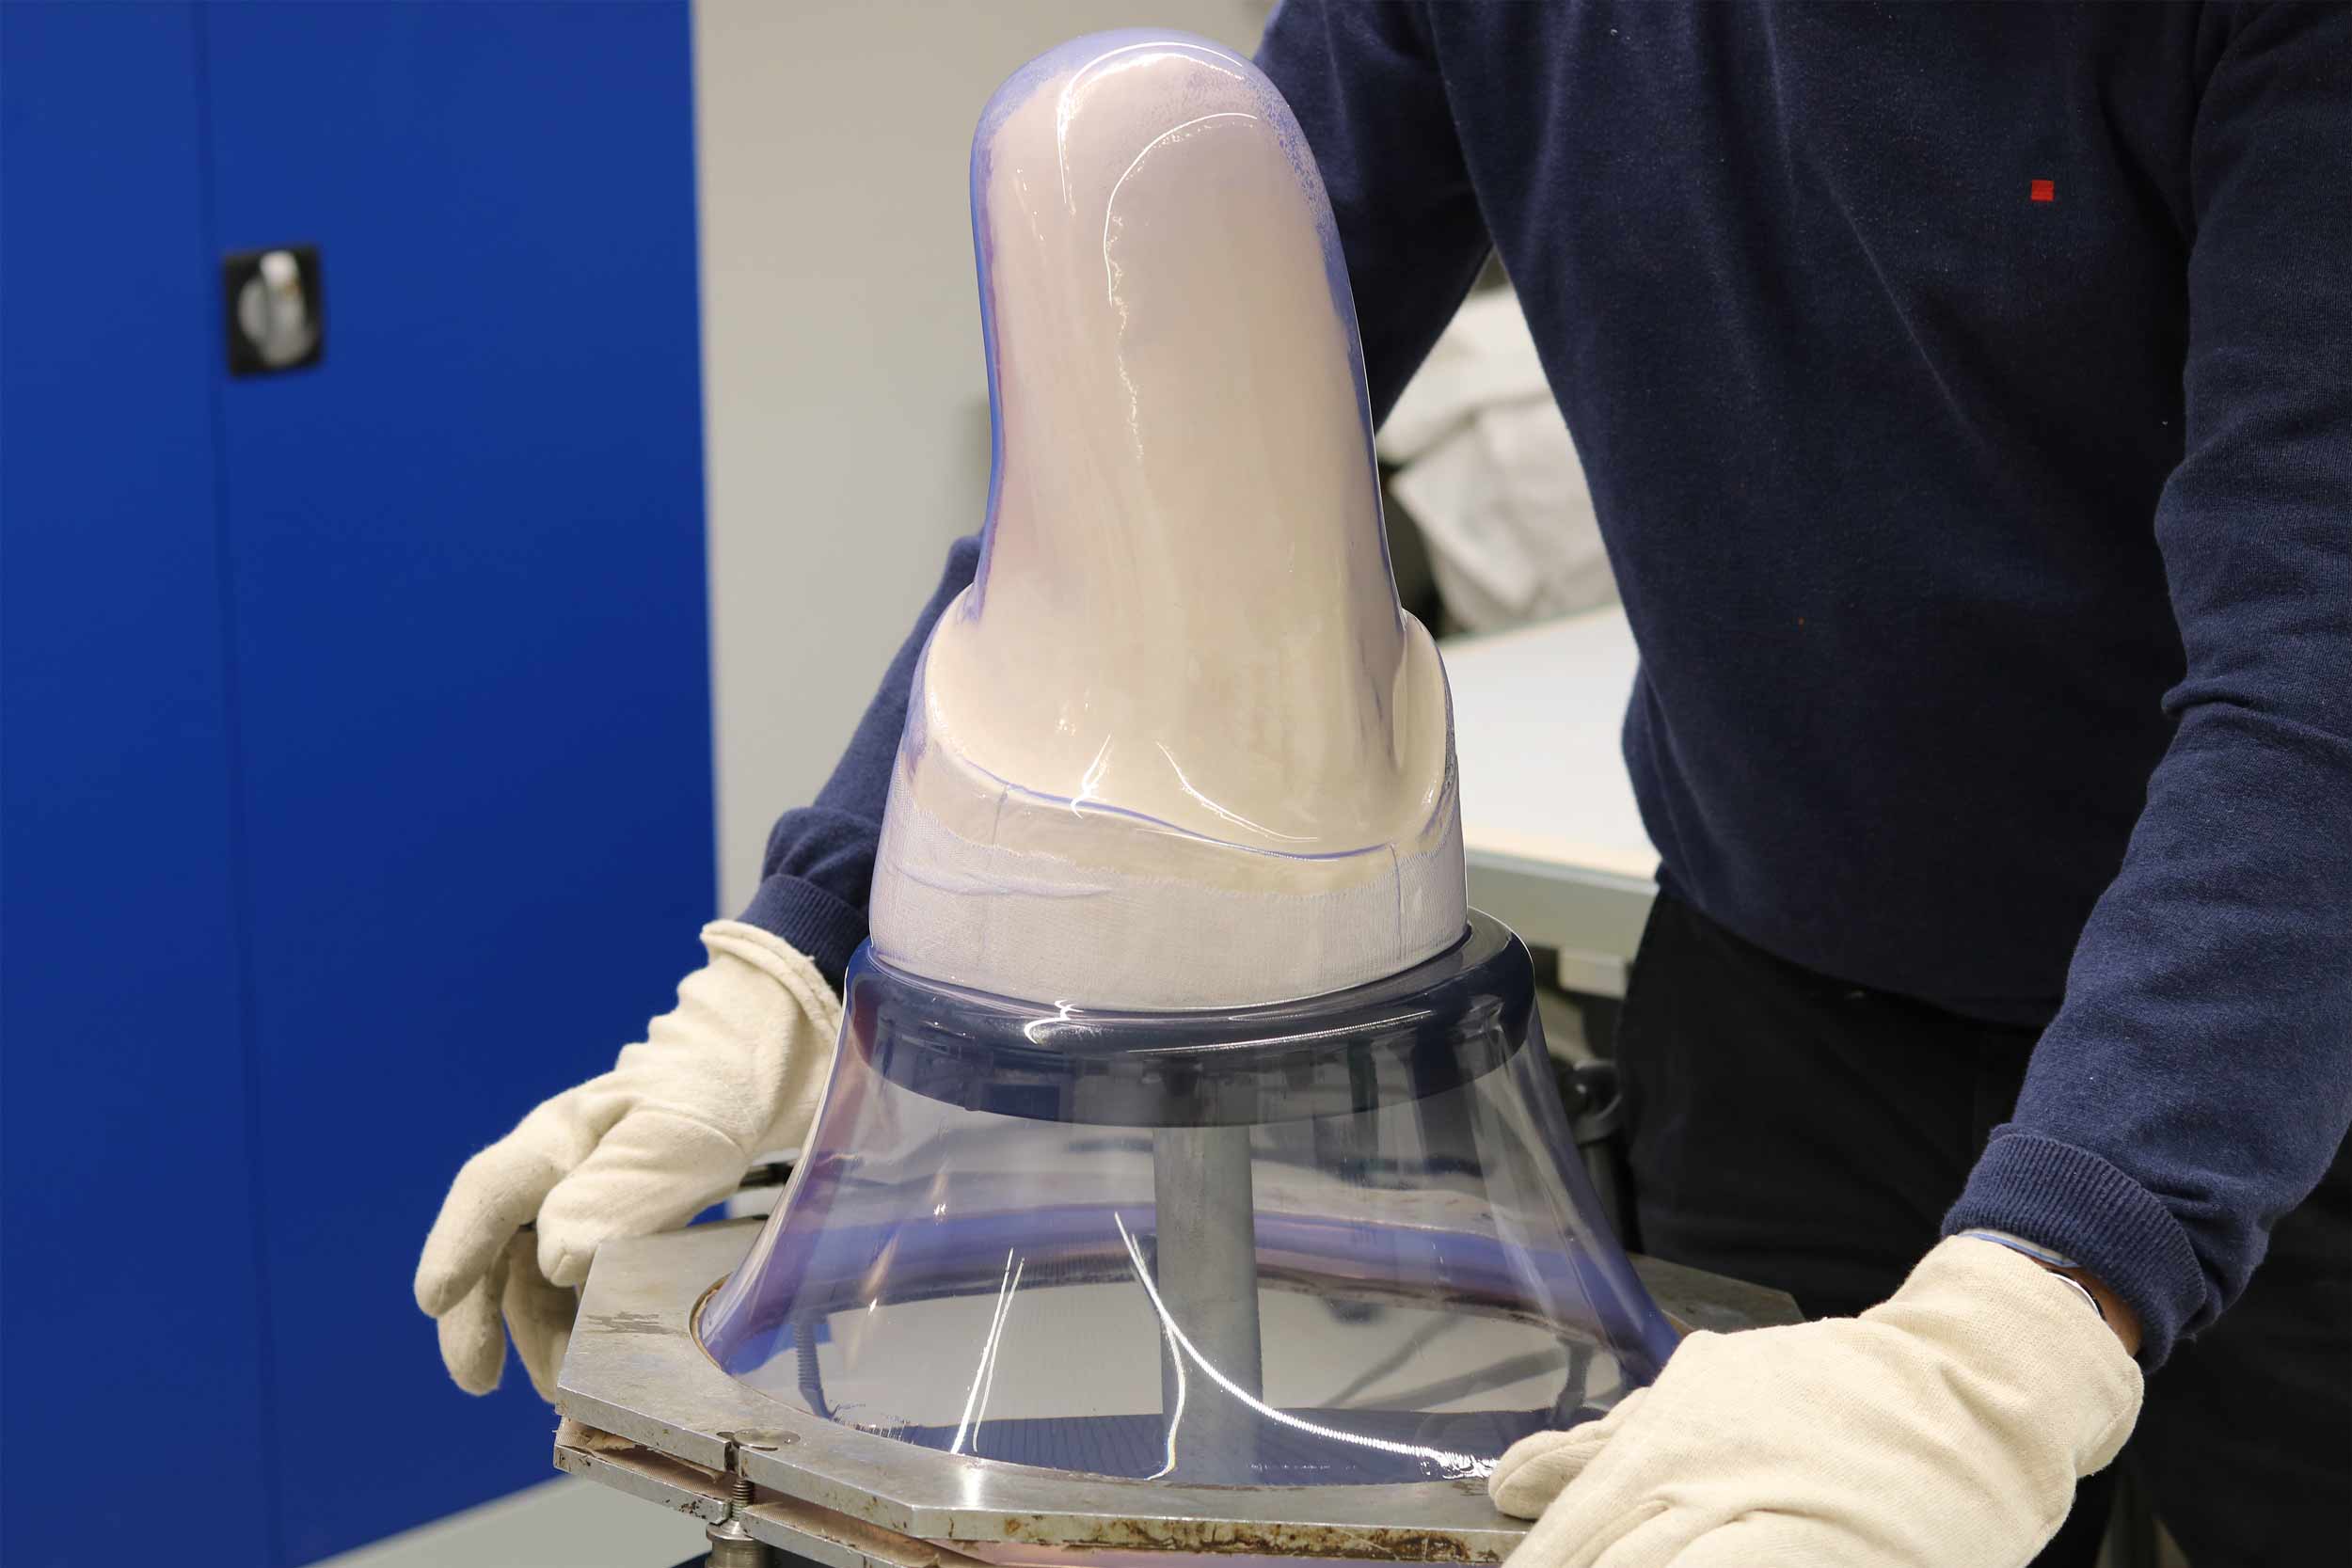
- Optionally, you can lightly press the thermoplastic material against the positive mould, while wearing your gloves, to let the sheet conform even more.
- Let the thermoplastic sheet cool down entirely on the positive mould. The longer you can leave it to cool down the better, as this will guarantee that the socket keeps its shape. We usually recommend a cooling time of 24 hours.
Step 4: Remove the socket from the positive mould
When the socket has cooled down, saw off the material just above the proximal edge of the socket. Now you can slide the socket off or break out your positive mould.
Step 5: Finish the prosthetic socket
- Sand the edges of the socket with a router socket machine fitted with sanding rolls. Begin with a grit of 40 and then switch to a grit of 80.
- Use silicone polishing cones to give the edges a nice finish. Make sure to install your milling machine to a maximum of 1500 rpm. A higher amount of revs will generate too much heat and could potentially melt the material.
- Lightly reheat the edges with a heat gun to make them perfectly smooth.
Now your socket is completely finished and ready to be fitted to your patient.
We hope that this overview will help you to fabricate highly conforming prosthetic sockets that are as comfortable as they are supportive.


Written by Marc Blij
Marc studied in Brussels and London and is a certified Orthotist and Prosthetist.
After working in an O&P lab at the Universities of Louvain and Brussels, he decided to set up his own O&P lab in Antwerp. For over 30 years, he ran his own practice, together with his wife.
Since 2006, Marc works at the Orfit Industries headquarters in Wijnegem (Belgium) as a Product and Educational Specialist in Orthotics & Prosthetics and Physical Rehabilitation.
Contact us for more product information or find your local distributor here.

If you’d like to receive the latest product updates and interesting Orfit news, subscribe to our newsletter: