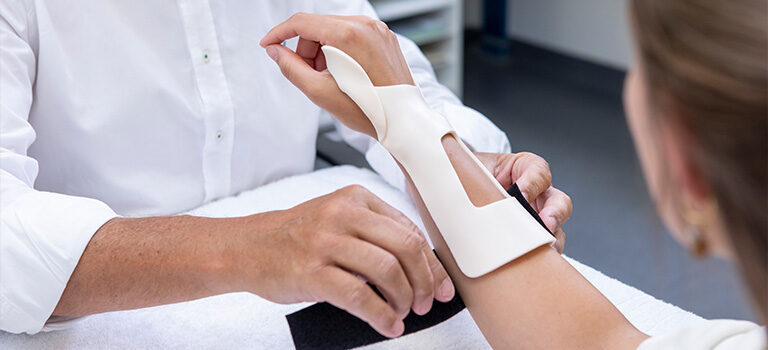
An important aspect of any orthosis is the strapping used to attach the orthosis to the patient’s extremity.
Clinicians generally use hook-and-loop straps, often referred to by the trademarked name “Velcro”. These consist of two components: one featuring tiny hooks, the second featuring smaller loops. When the two are pressed together the hooks catch in the loops and the two pieces fasten or bind temporarily.
Did you know that the original hook-and-loop tape has its roots in nature? The idea came from a Swiss engineer named George de Mestral. After hiking with his dog, he noted the many burs of the burdock plant stuck to his clothes and to the dog’s fur. After this, Mestral tried to recreate this concept with materials. Although he started in 1941, it was not until 1951 that de Mestral was able to mechanize the exact weaving and cutting process, and create hook and loop strips of materials. He received a patent for this in 1955. In 1958, an American columnist, Sylvia Porter, called this creation a “zipperless zipper”. It was used by the aerospace industry to help astronauts get in and out of their bulky space suits. George de Mestral was inducted into the National Inventors Hall of Fame for his invention.
Today, there are many different types of strapping materials on the market, made from nylon and or polyester.
Most commonly, therapists attach the adhesive-backed hook directly to the orthosis and use the loop as strapping around the patient, as this part is softer and more comfortable.
Tips and tricks with hook-and-loop straps
1. Remove the coating of the thermoplastic material
When using coated thermoplastic materials for the orthosis, it is helpful to scrape off the non-stick coating before applying the adhesive backed hook or loop strapping.
Thermoplastic materials are sticky in nature, so when you remove the non-stick coating you can take full advantage of the adhesive properties of the thermoplastic.
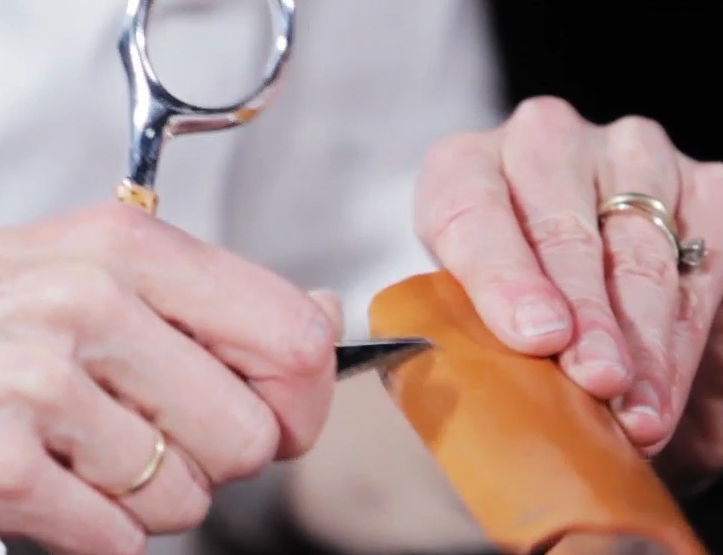
Scrape the coating off coated thermoplastic materials for better bonding.
2. Clean corners
Round the corners on the hook tape. It gives the orthosis a clean look and helps with the adherence to the orthosis. Sharp corners do not follow the curves of the orthosis very well, which could cause the tape to lift and come off.
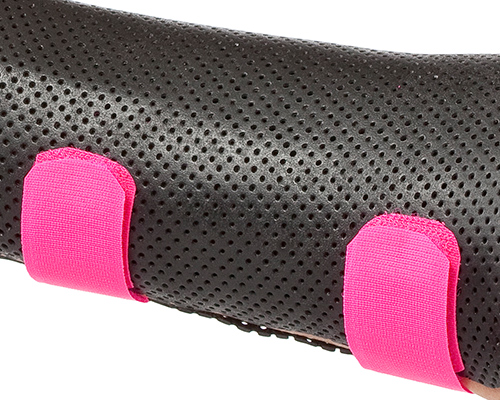
Round the corners of the hook tape for improved adherence.
3. Use dry heat for a sticky surface
Apply dry heat (heat gun) lightly to the surface of the orthosis and to the adhesive glue of the hook.
The fibres of the loop strapping can be adhered directly into thermoplastic material when the coating has been removed, and the surface heated with dry heat. Do not use the heater on the loop directly as it will burn.
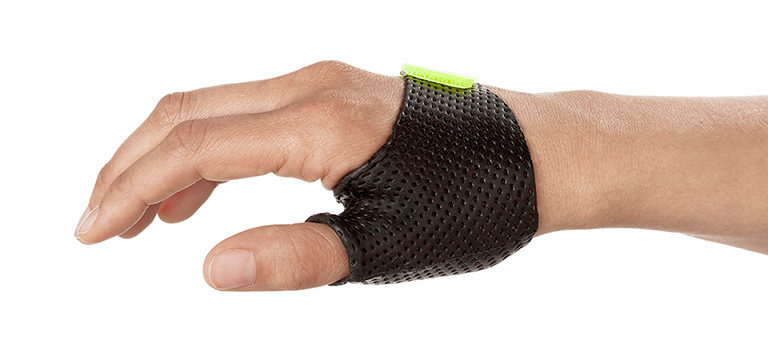
4. Create a pulley
When the strap is wrapped through a slit opening, it lessens the force on the bond by acting as a pulley system (thus gaining a mechanical advantage), and further absorbing some of the force in friction around the tight bend.
We explain how to apply this technique in our instructional video for the basilar joint arthritis orthosis.
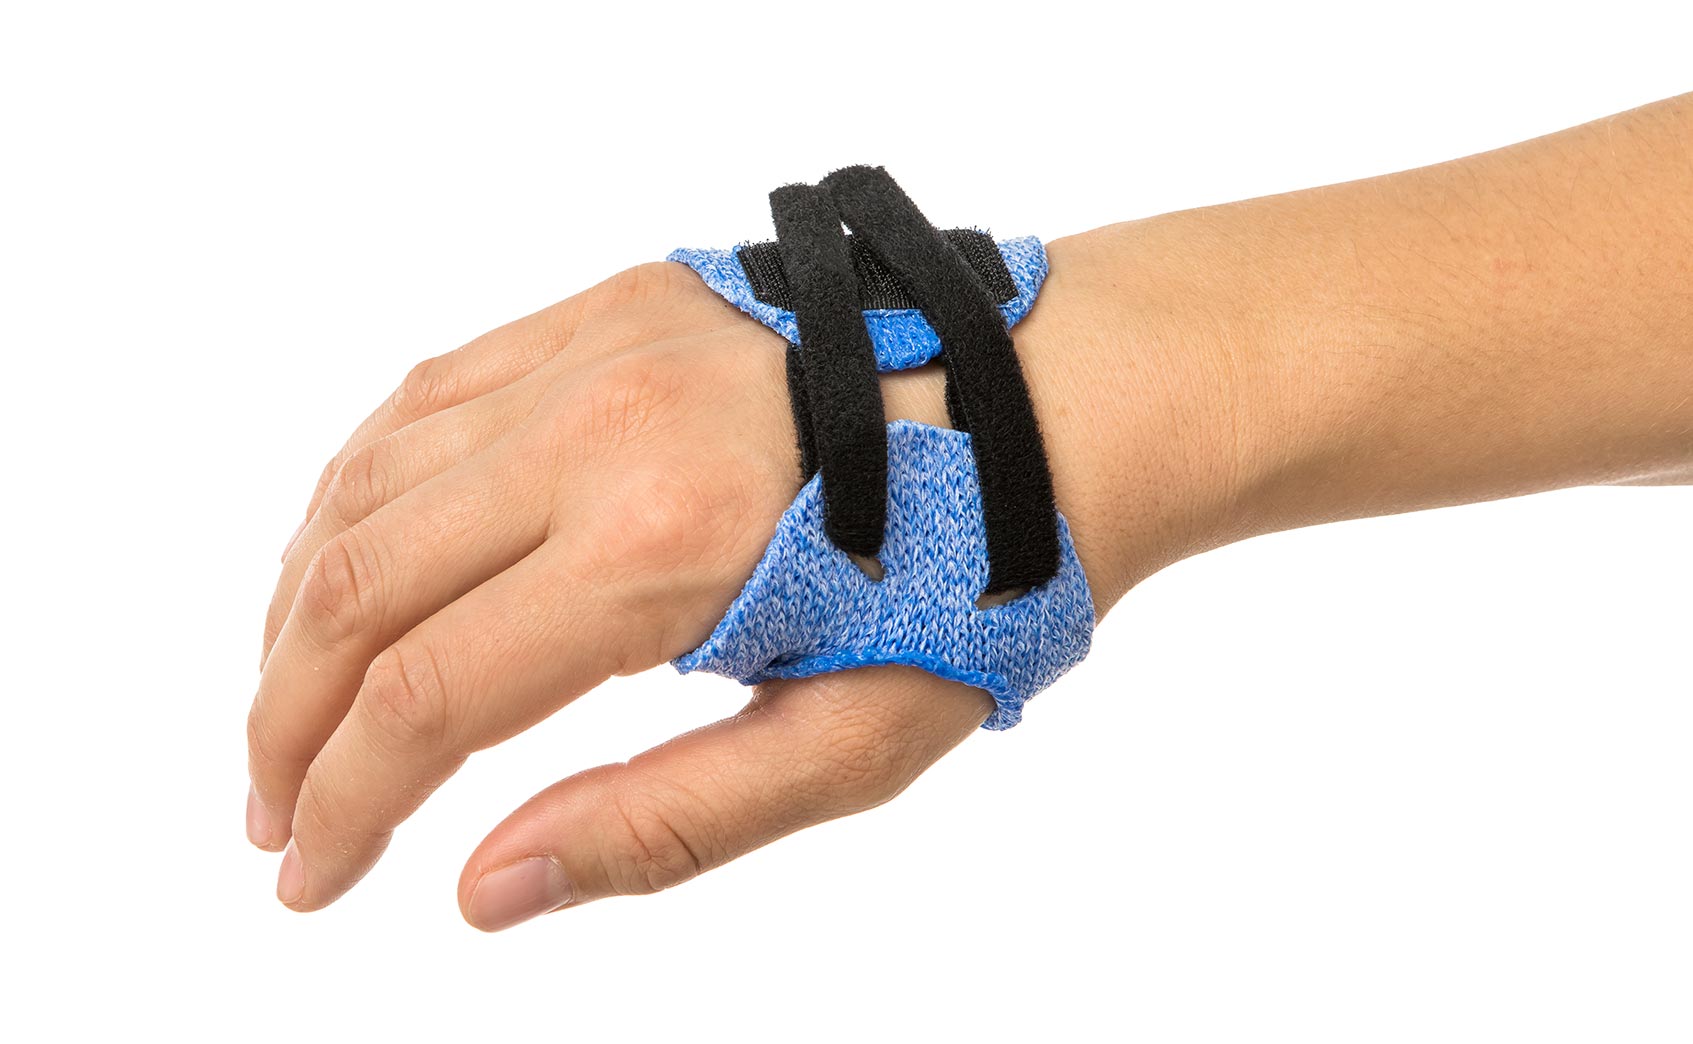
Wrap the hook-and-loop strap through a slit, like a pulley, to lessen the force on the bond.
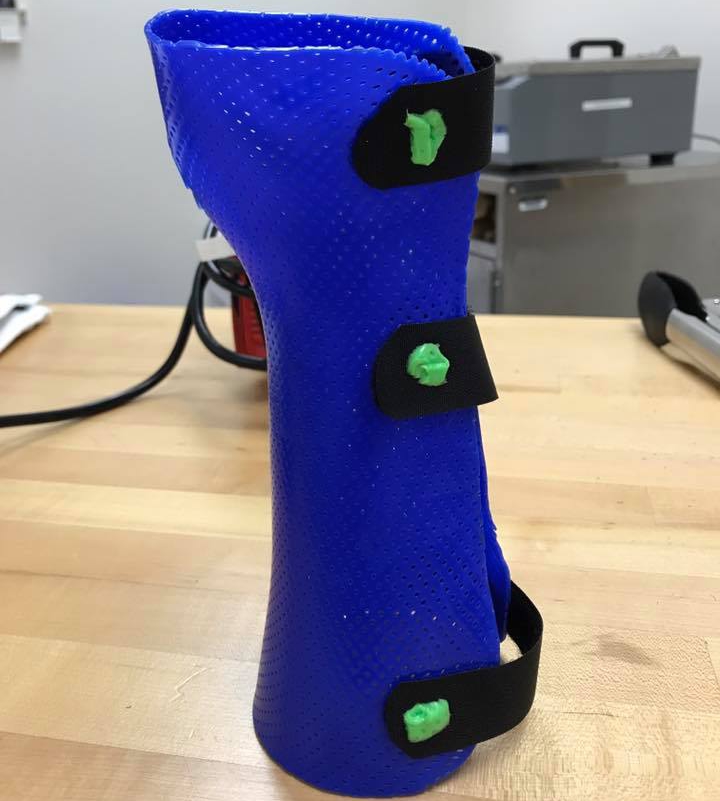
5. Add a strip of thermoplastic material for a stronger bond
Use thin strips of Orficast or other thermoplastic materials as binding around the edges of the hook or loop attached directly to the orthosis. The dry heater makes these very sticky.
Apply a thin strip of thermoplastic material to secure the hook or loop strap.
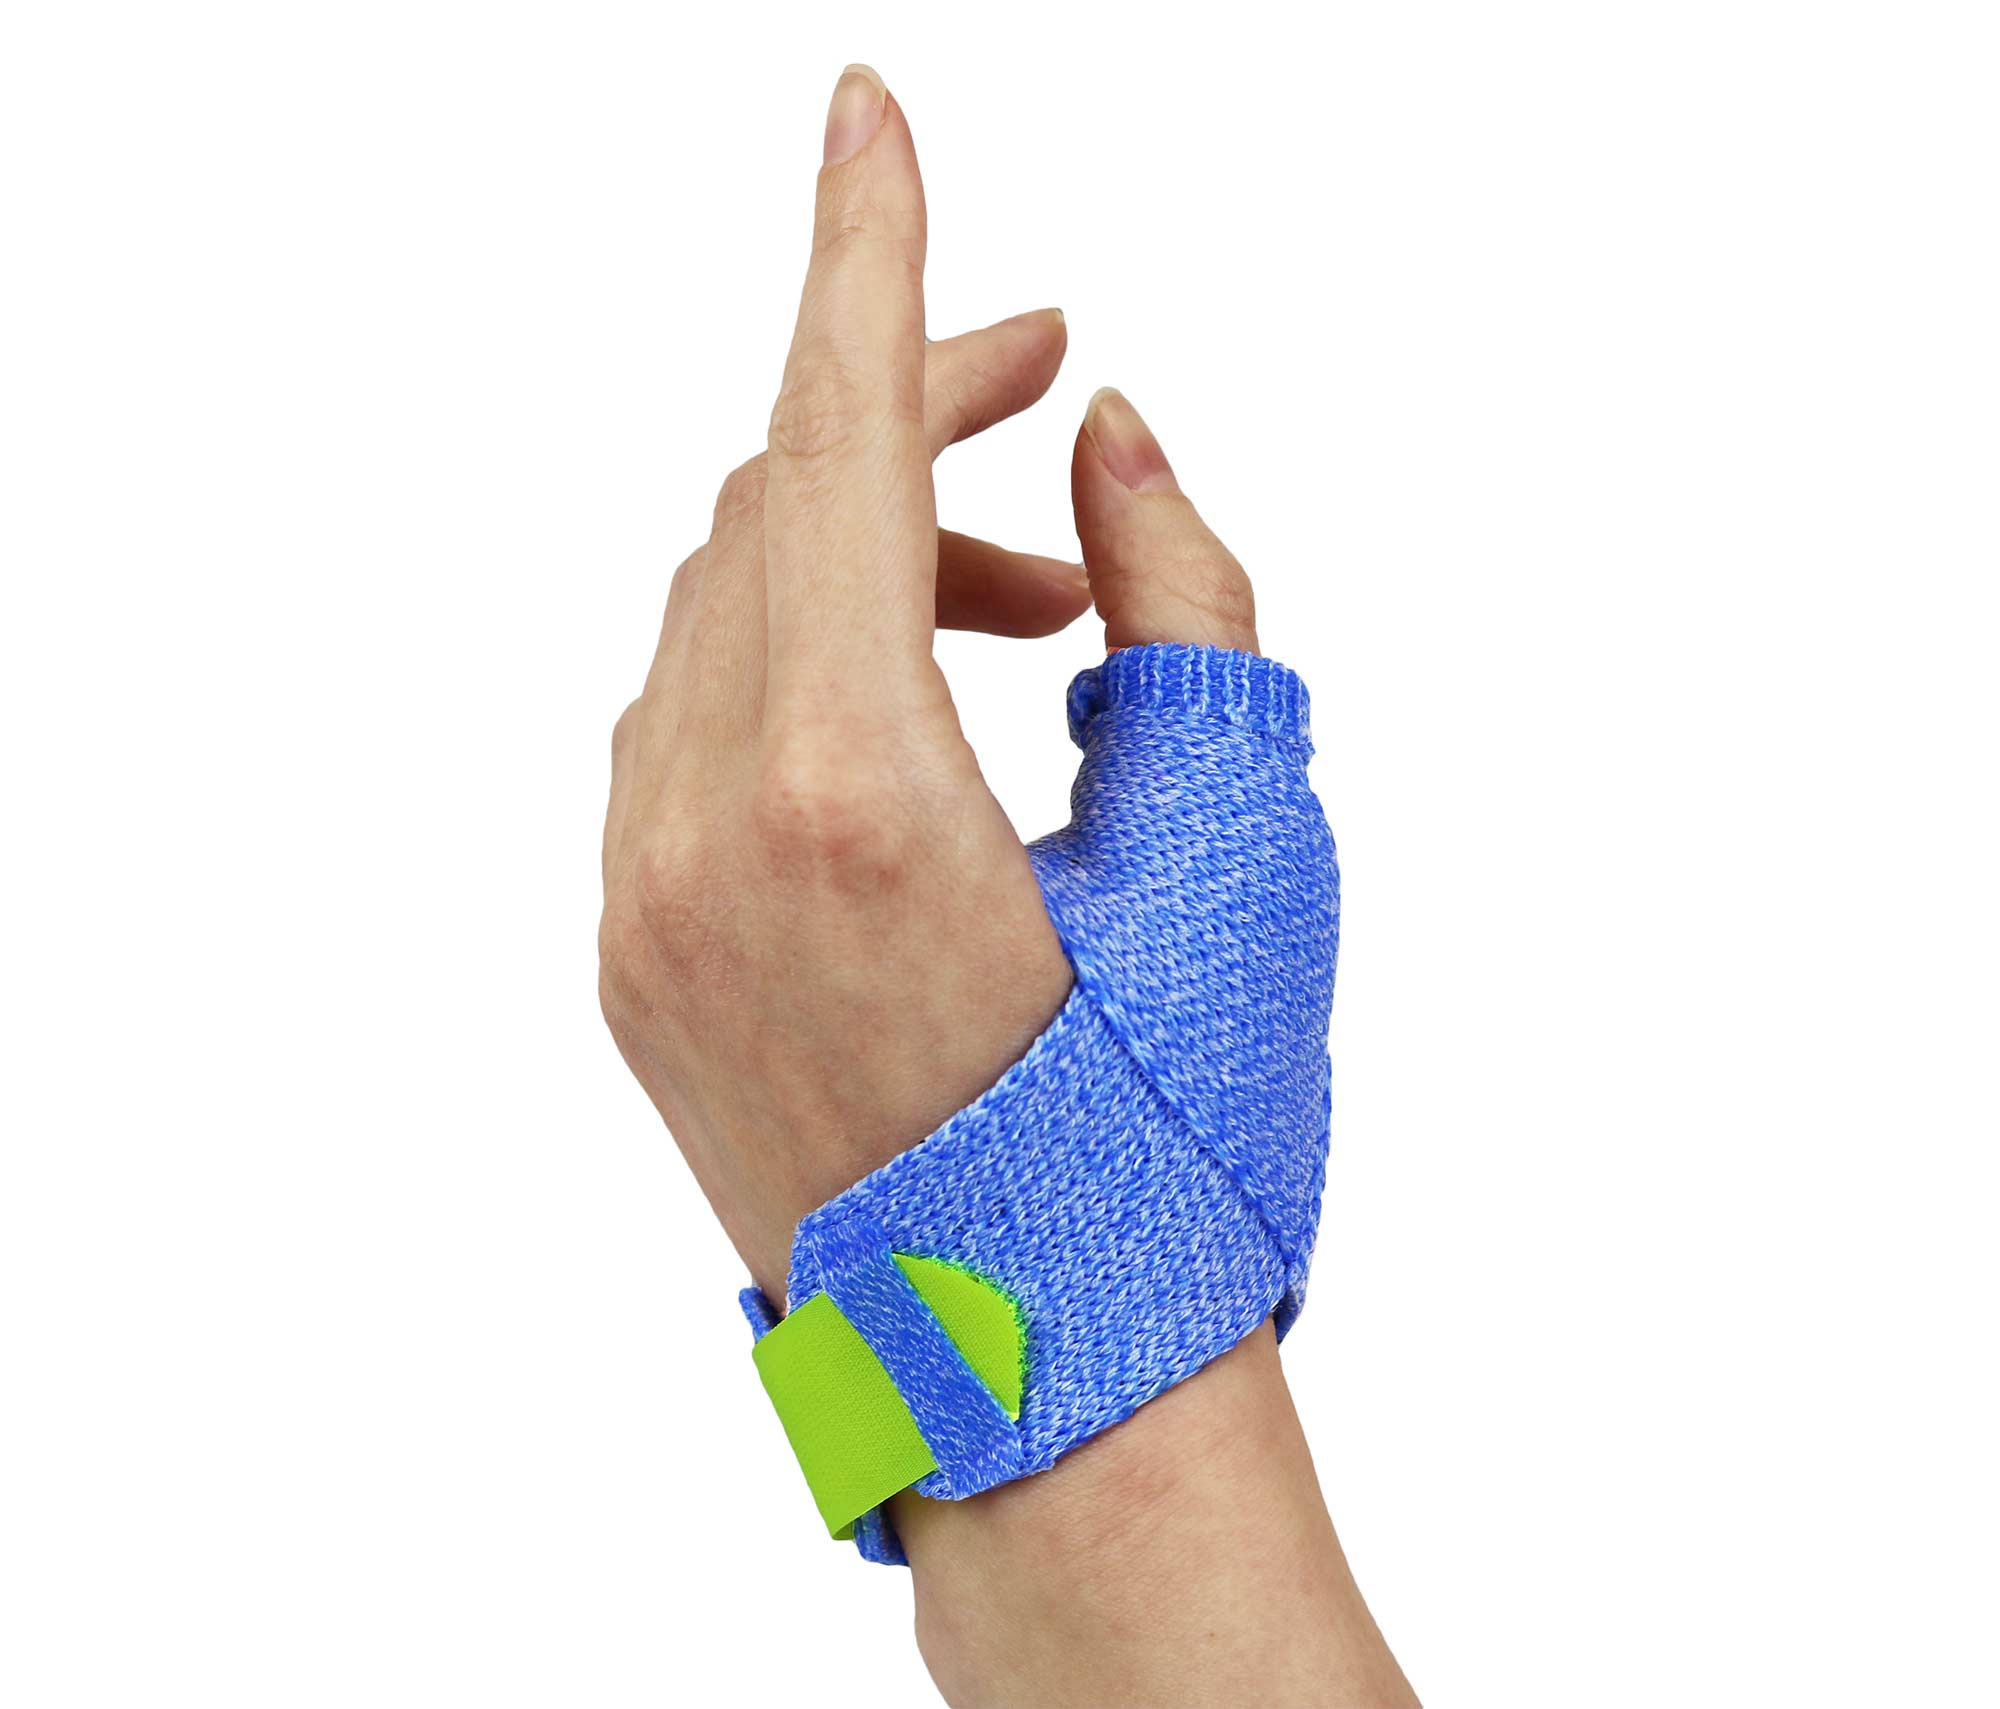
6. Secure with a rivet
A small hole can be made in the loop strap before it is directly bonded to the orthosis. Fill in the hole with dry heated thermoplastic material to create a rivet which helps to secure the strap.
Make a hole in the loop strap and fill with thermoplastic material to create a rivet.
These tips will help ensure that your hook and loop strapping remain in place and the orthosis is snug and secure on your patient’s extremity.


Written by Debby Schwartz, OTD, OTR/L, CHT
Physical Rehabilitation Product and Educational Specialist at Orfit Industries America.
Debby is a certified hand therapist with over 36 years of clinical experience. She completed her Doctorate of Occupational Therapy at Rocky Mountain University of Health Professions in 2010. She has worked at Orfit Industries America as Product and Educational Specialist since 2007.
Debby is also an adjunct professor at the Occupational Therapy Department of Touro University, School of Health Sciences, and at the Occupational Therapy Department at Yeshiva University, Katz School of Science and Health in NYC. She has written many book chapters in the field of hand therapy and multiple articles for hand therapy journals, including the ASHT Times and the Journal of Hand Therapy. She has published a new textbook on orthotic fabrication together with Dr. Katherine Schofield, entitled “Orthotic Design and Fabrication for the Upper Extremity: A Practical Guide”.
Debby’s Google Scholar