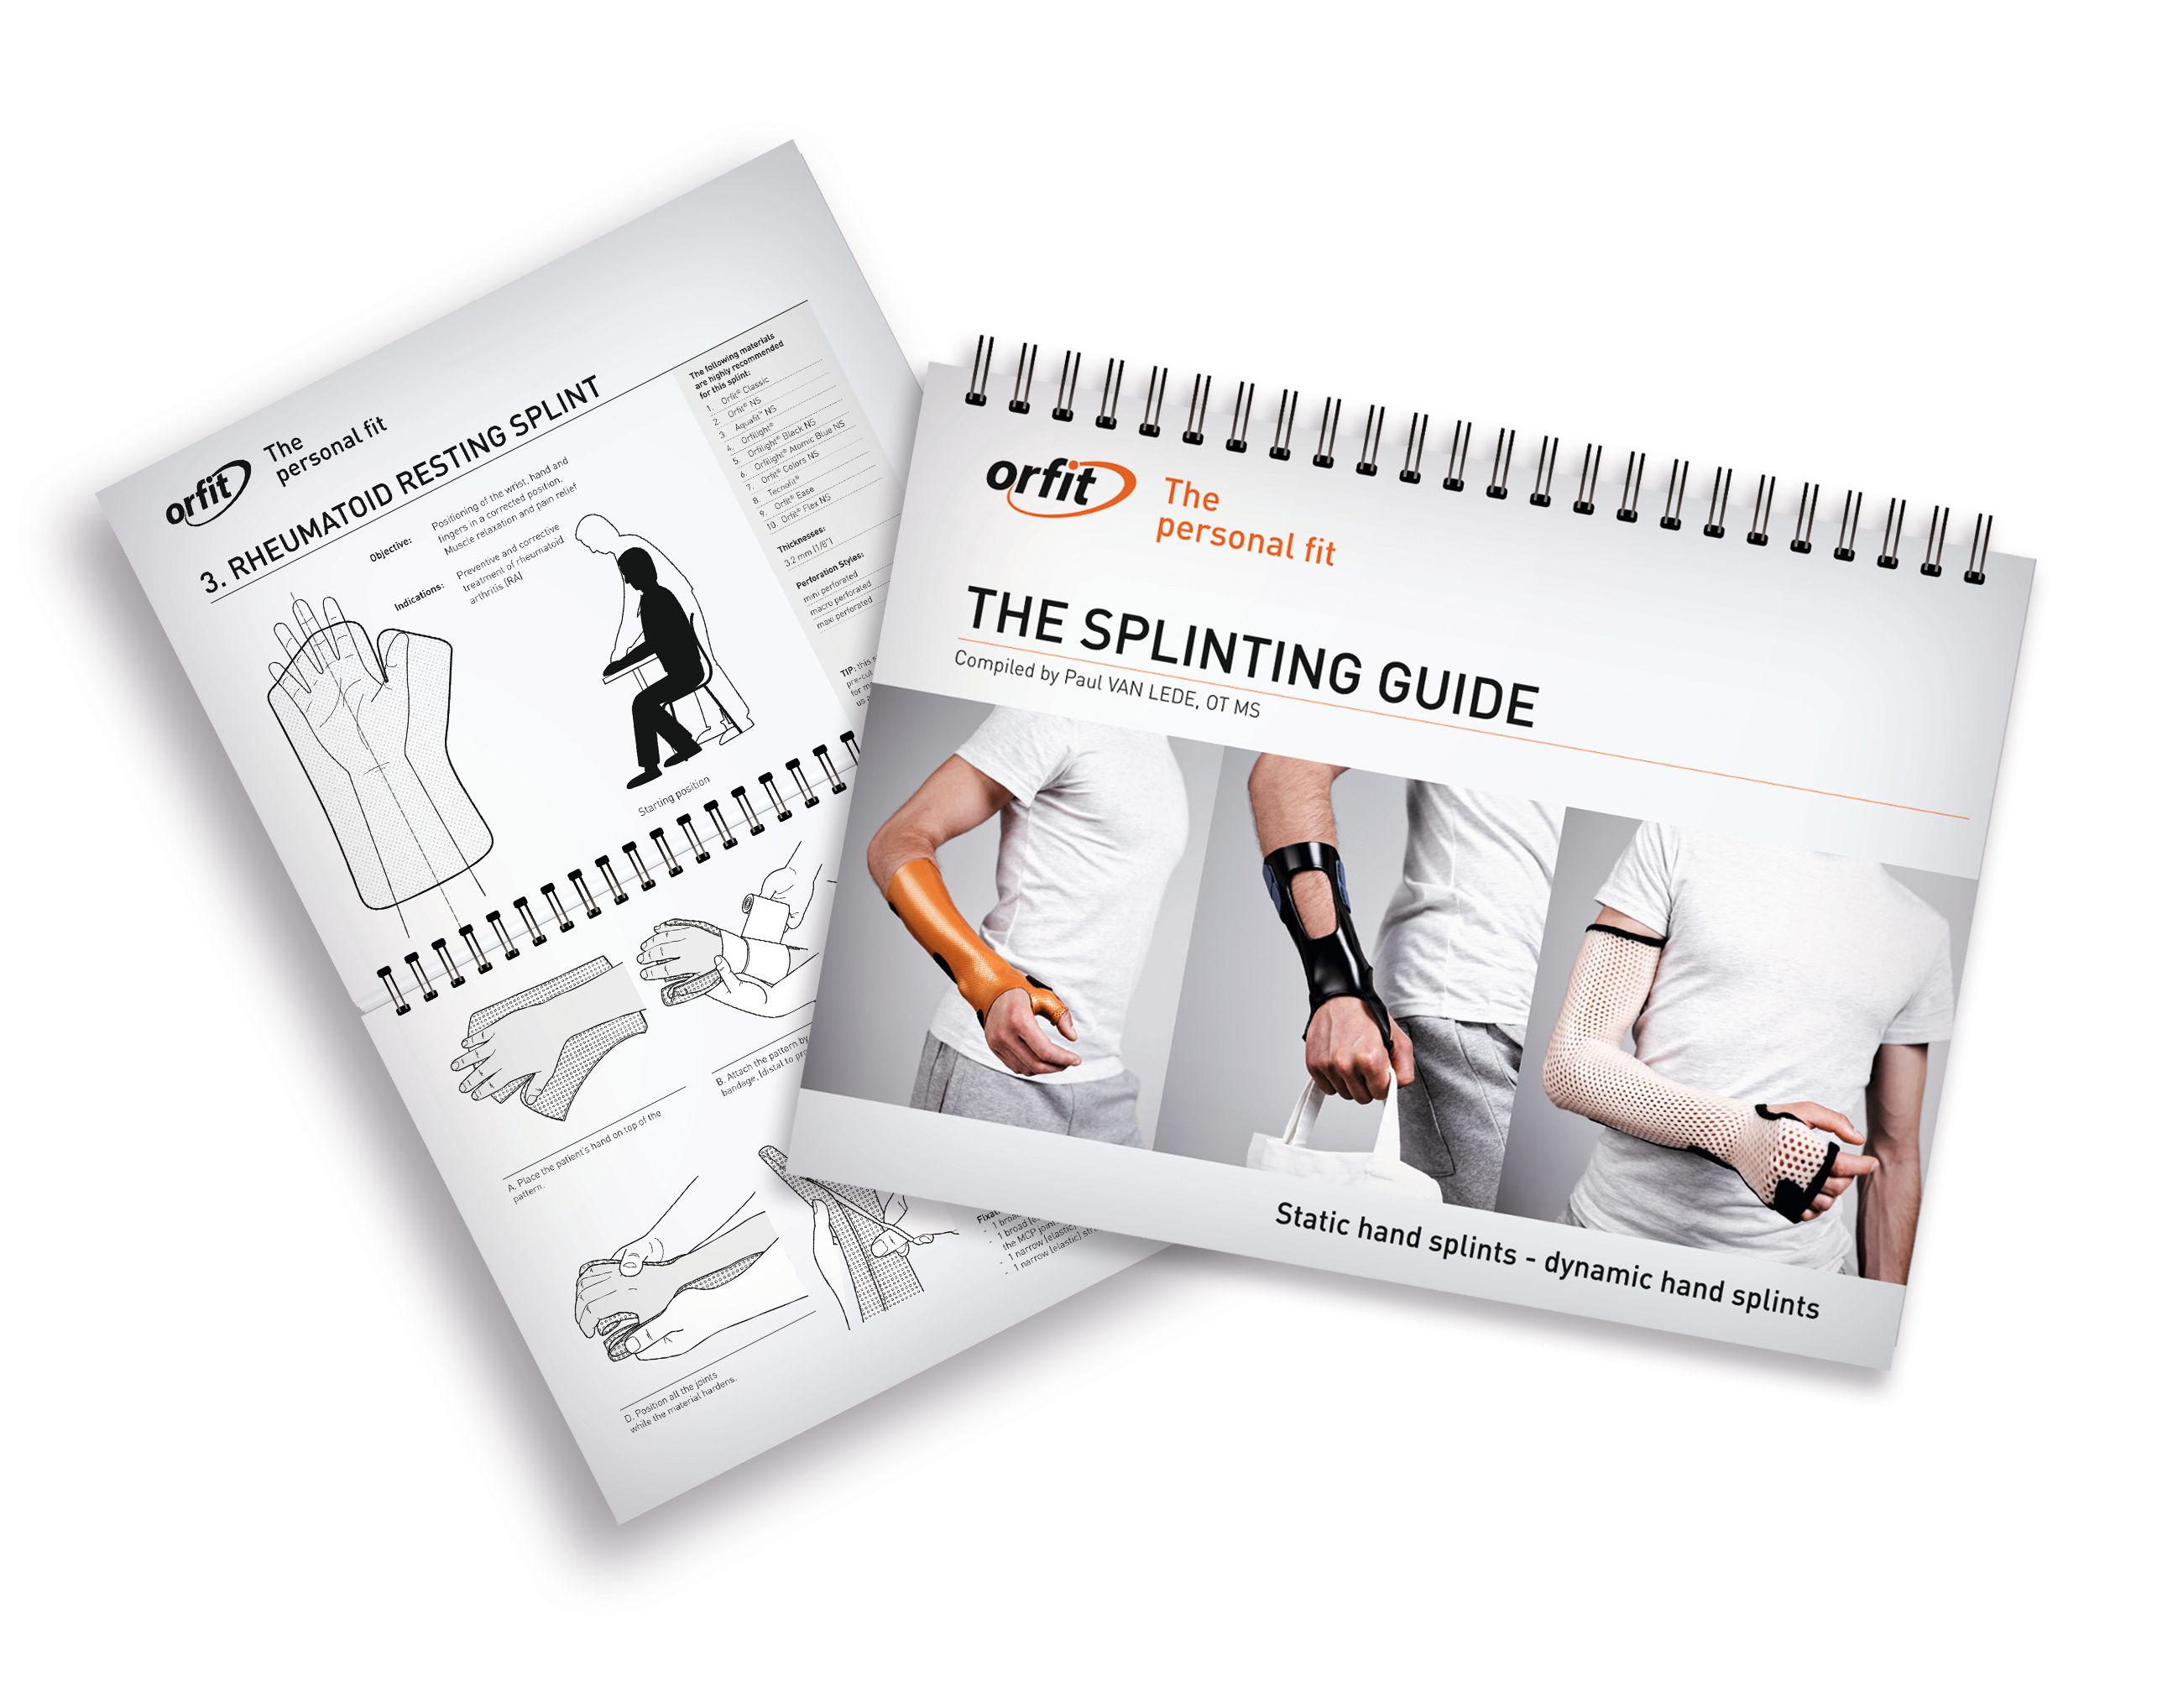
Looking for fresh ideas and practical guidance? Download our free Splinting Guide and explore a wide range of static and dynamic orthoses, including clear clinical indications and practical fabrication tips.
Compiled by Paul Van Lede, OT, MS, this comprehensive guide covers both static and dynamic hand splints and is perfect for every hand therapist who wants to combine function with precision.
You can download the Splinting Guide after completing the form below.
⚠️ Embed code detected but no form block found
The embed code might be incomplete or only contain tracking scripts.
Please ensure the embed code includes the full Microsoft Dynamics form structure.
<div
        data-form-id='2431a19a-476d-f011-b4cc-0022487fecd7'
        data-form-api-url='https://public-eur.mkt.dynamics.com/api/v1.0/orgs/410fa029-4aca-424a-8d31-e4cc9a602efa/landingpageforms'
        data-cached-form-url='https://assets-eur.mkt.dynamics.com/410fa029-4aca-424a-8d31-e4cc9a602efa/digitalassets/forms/2431a19a-476d-f011-b4cc-0022487fecd7' ></div>
        <script src = 'https://cxppusa1formui01cdnsa01-endpoint.azureedge.net/eur/FormLoader/FormLoader.bundle.js' ></script>