5 Steps for Attaching Straps to Orfit Crystal NS
Create a secure fastening with hook-and-loop straps
The newly launched Orfit Crystal NS is an innovative material that offers many benefits, such as complete transparency at room temperature and throughout the activation, moulding and hardening process. It also remains transparent on your patient’s limb!
Orfit Crystal NS also features enhanced flexibility and a non-stick coated surface with properties.
Orfit Crystal NS can be used for:
- Proprioceptive orthoses (for example, wrist-related pathologies)
- Functional orthoses (for example, finger or thumb osteoarthritis)
- Supportive orthoses (for example, TFCC and/or other joint dysfunction).
- Protection over sensitive skin during athletics and sports activities
- Monitoring of wounds and scar tissue
- Lightweight orthoses for elderly patients and pediatric patients with fragile skin
Despite the big advantage of the non-stick coating, it does offer a challenge to adhere hook and loop straps to the Orfit Crystal surface. (Due to the superior non-stick coating, regular fixation of adhesive-backed hook tape is not possible).
That’s why we created this step-by-step tutorial on how to securely attach straps to Orfit Crystal NS.
Tutorial: Attaching straps to Orfit Crystal NS
To attach straps, you will need:
- Hole-puncher or hole-chisel
- Hammer
- Sharp scissors
- Orficast
- Self-adhesive hook tape and regular loop tape or double-sided hook tape and double-sided velvet loop tape
- Heat gun
Step 1: Prepare the orthosis
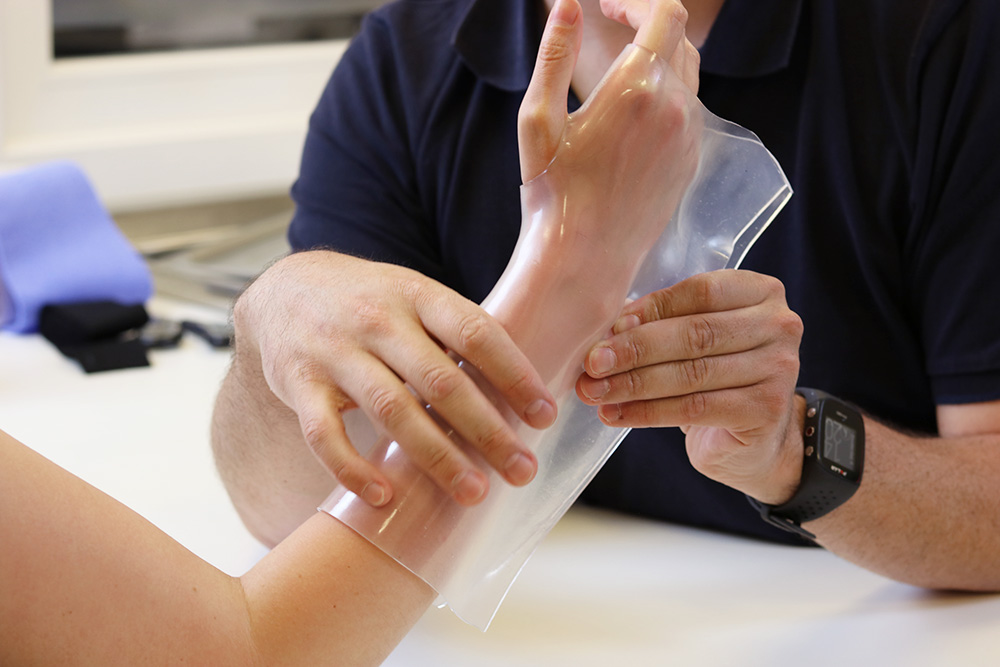
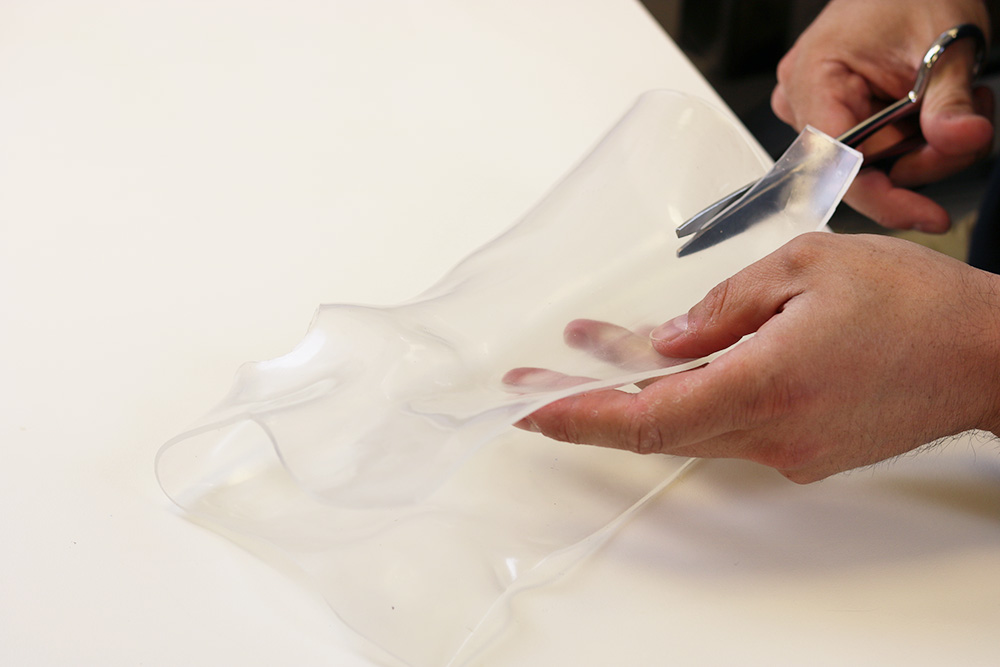
Mould the orthosis (in a circumferential manner) on the patient’s arm. Remove all excess material with the scissors.
Step 2: Create a slit
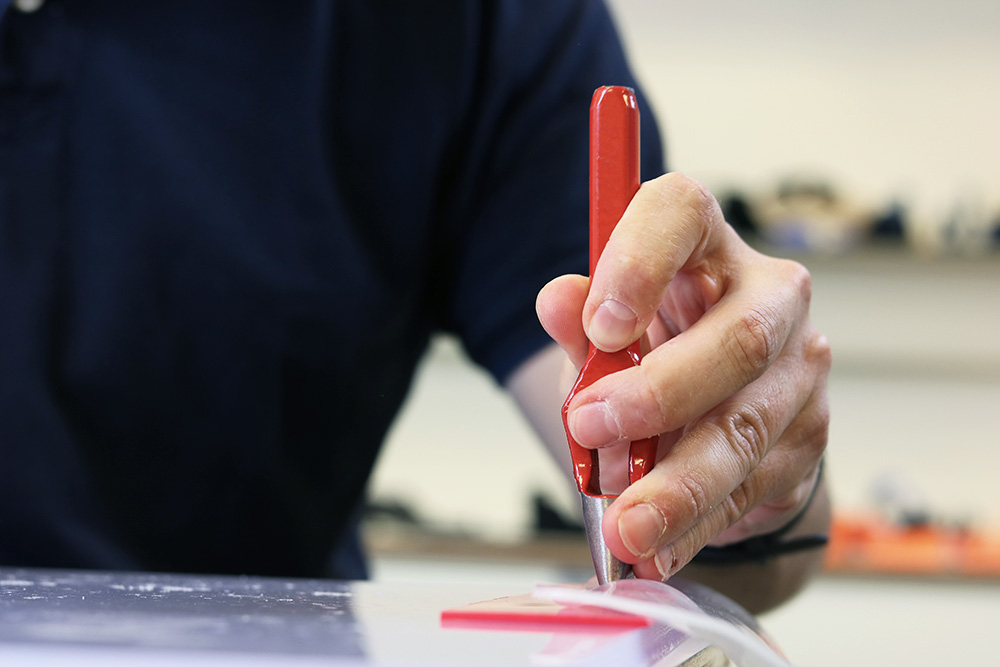
Create a slit (narrow perforation) with a hole-chisel and a hammer through both sides of the orthosis. Mind the correct positioning of the straps to ensure a secure fit. Maintain sufficient distance from the edge of the orthosis to avoid tearing the material when fastening the hook and loop straps.
Alternatively, a hole-puncher and a pair of sharp scissors can be used. In this case, punch two holes for each necessary strap opening and connect them by cutting with sharp scissors.
Step 3: Attach the loop straps
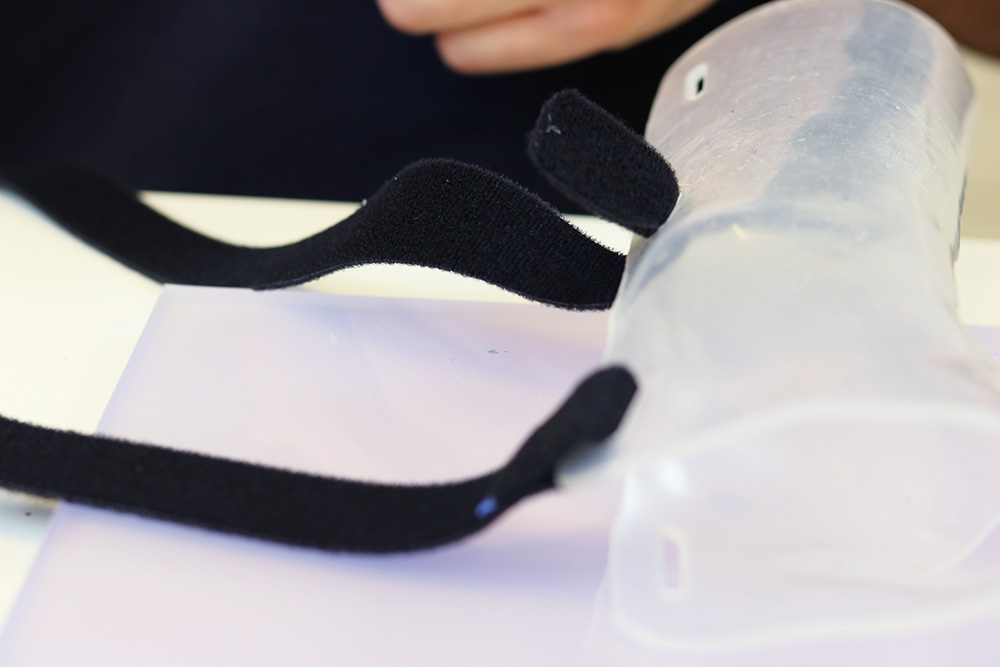
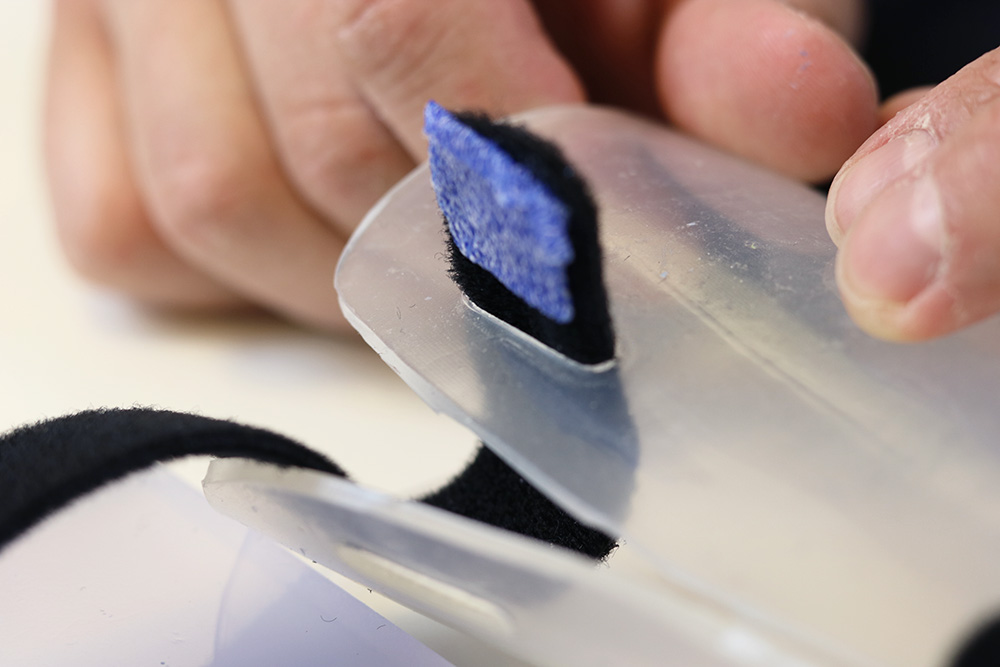
Prepare the required pieces of loop tape. Make sure they are long enough, as you will have to double them to fix them on to the hook tape. Pull the loop strap through one of the slits.
Fix the loop strap around one of the slits:
- Heat some dry Orficast with the heat gun and stick it on the inside of the loop straps.
- Press the short end of the loop strap on top of the Orficast with sufficient pressure.
- Pull this end of the loop strap a little further through the slit, so you can fold it over.
- Press the Orficast into the opposite side of the strap, to create a loop around the slit.
Pull the loop strap through the opposite slit.
Step 4: Apply the hook tape
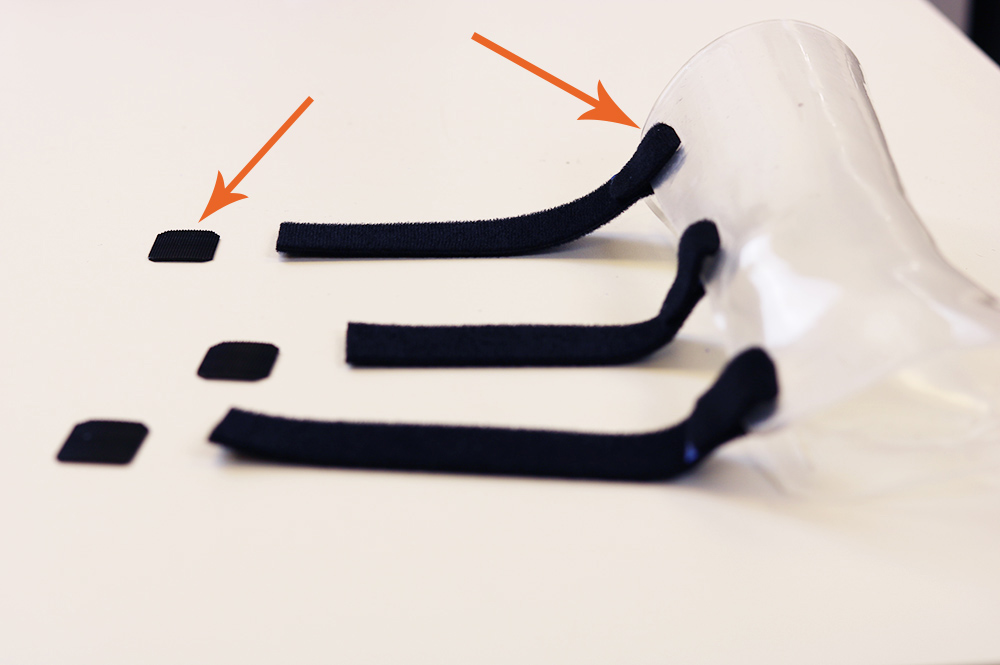
Round the corners of a piece of self-adhesive or double-sided hook tape. Activate the glue with a heat gun and attach it onto the dorsal aspect (backside) of the loop strap.
Step 5: Finish the straps
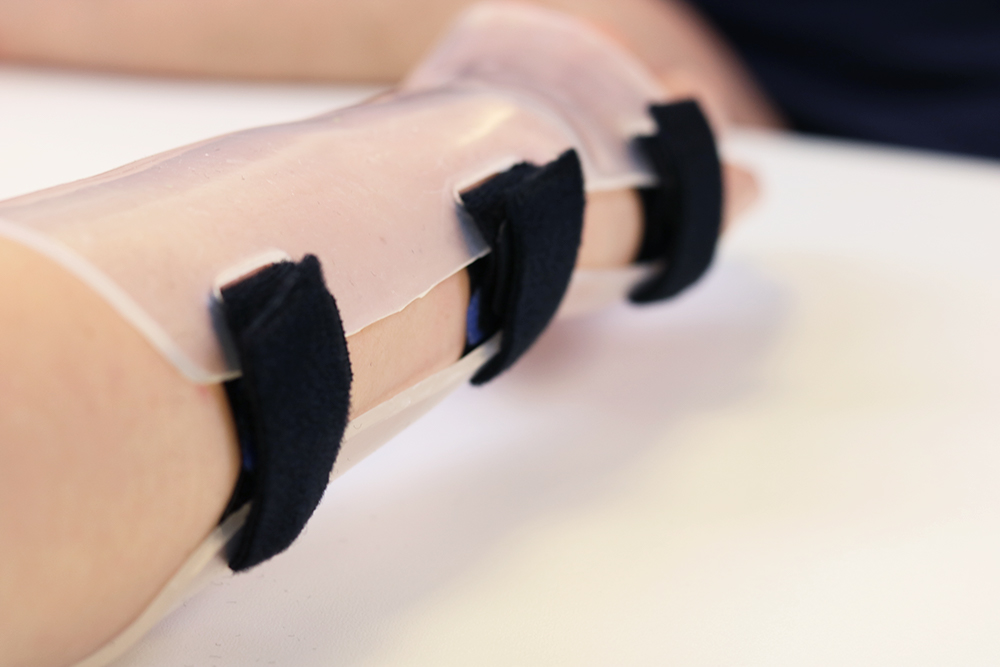
Fit the orthosis on the patient and fasten the hook and loop straps. If the loop straps are too long, trim them to an appropriate length.
Questions?
If you have a question or comment, please post it in the Orfit Splinting & Rehabilitation Group on Facebook, or send an email to welcome@orfit.com
![]()

Written by Björn Le Roy, Occupational Therapist, BA
Björn was trained in orthotic fabrication by French Occupational Therapist, Jean Christophe Arias. In 2016, he began his Bachelor in Occupational Therapy which he successfully concluded in 2019.
Over the years, he has become an avid teacher of orthotic fabrication, giving numerous educational workshops across the world.
![]()
If you’d like to receive the latest product updates and interesting Orfit news, subscribe to our newsletter:


